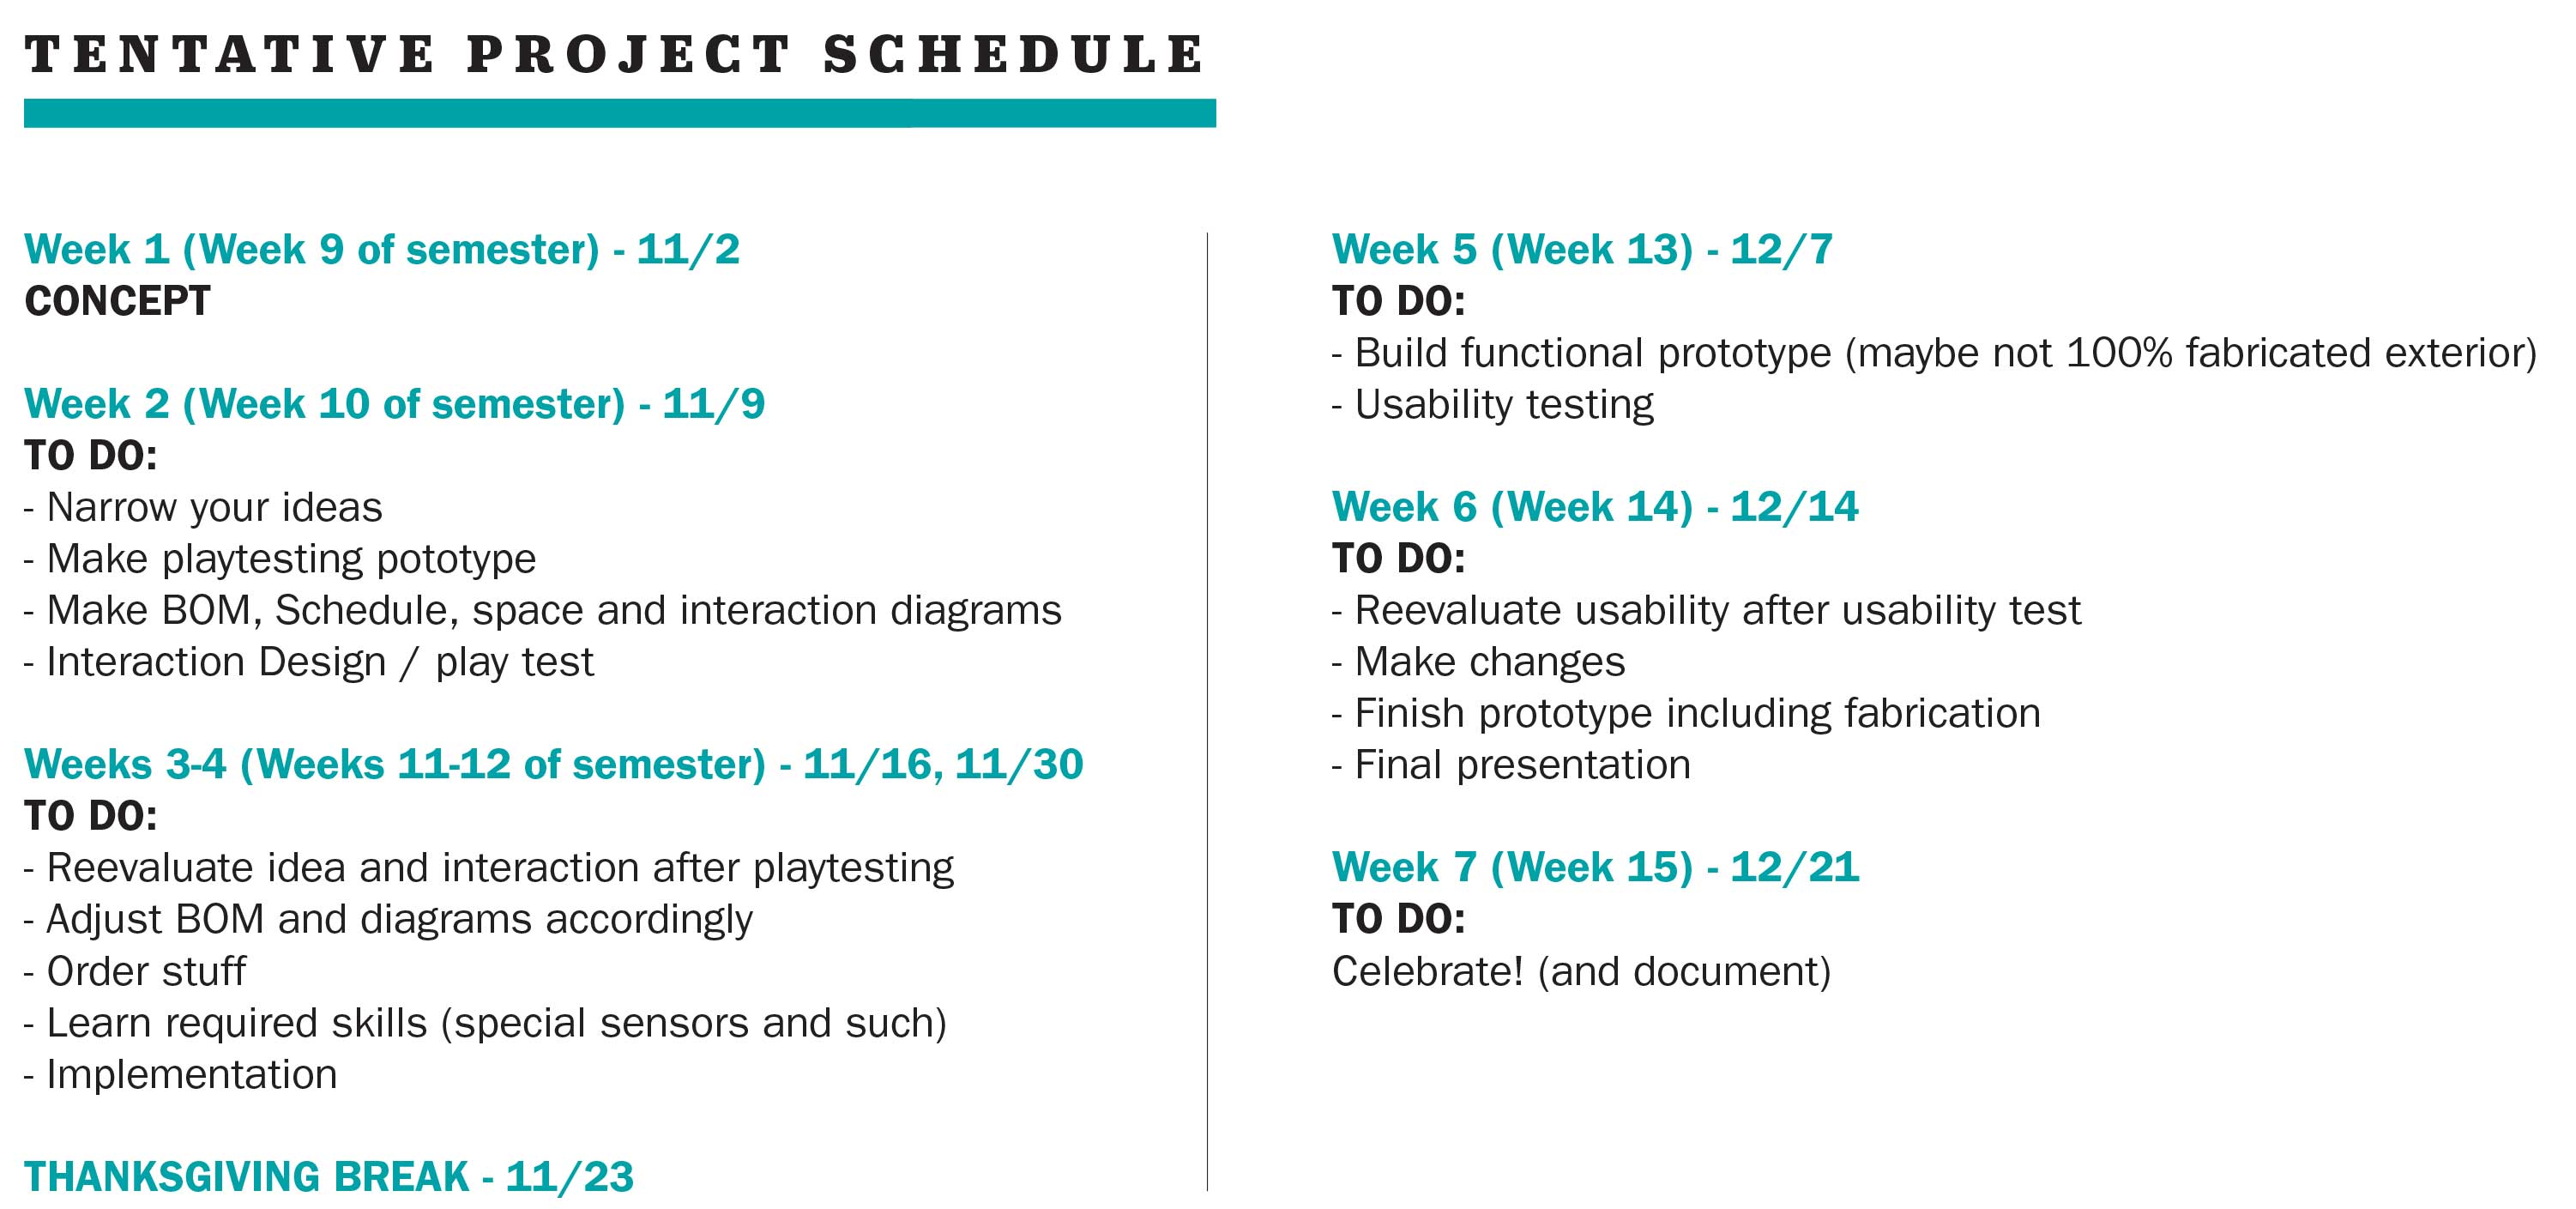
FINAL PROJECT: The Protest Time Machine
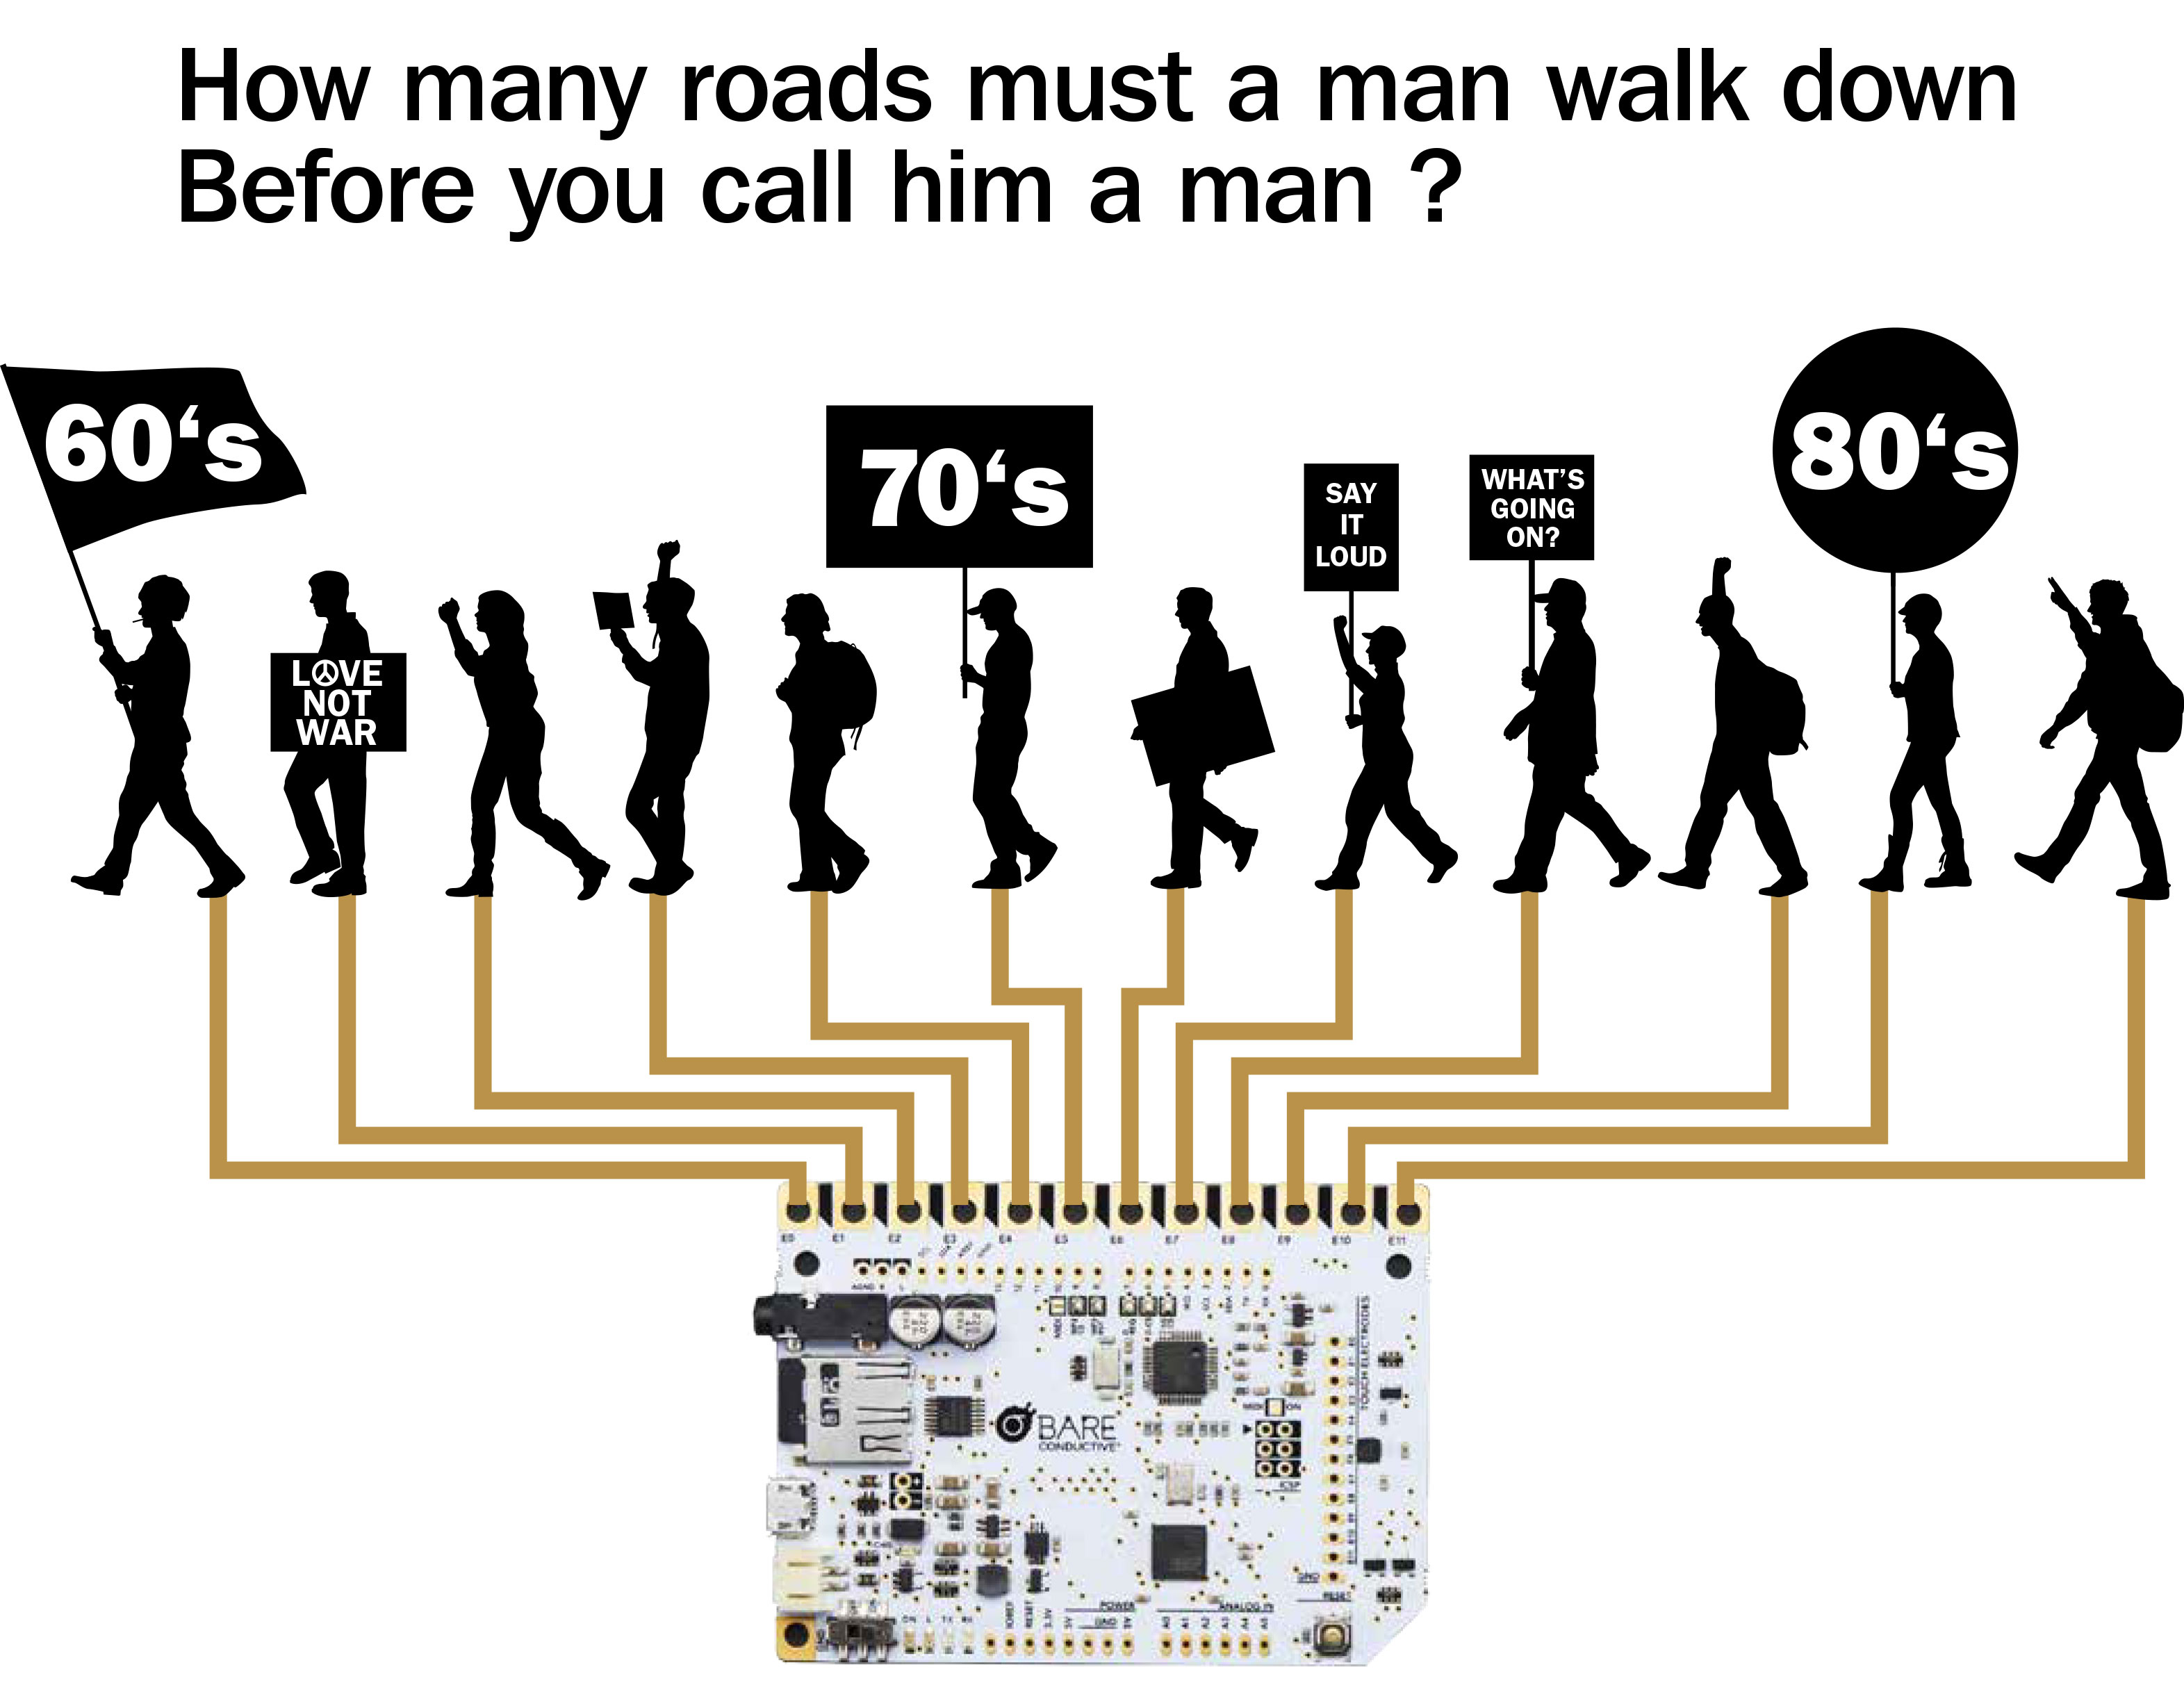
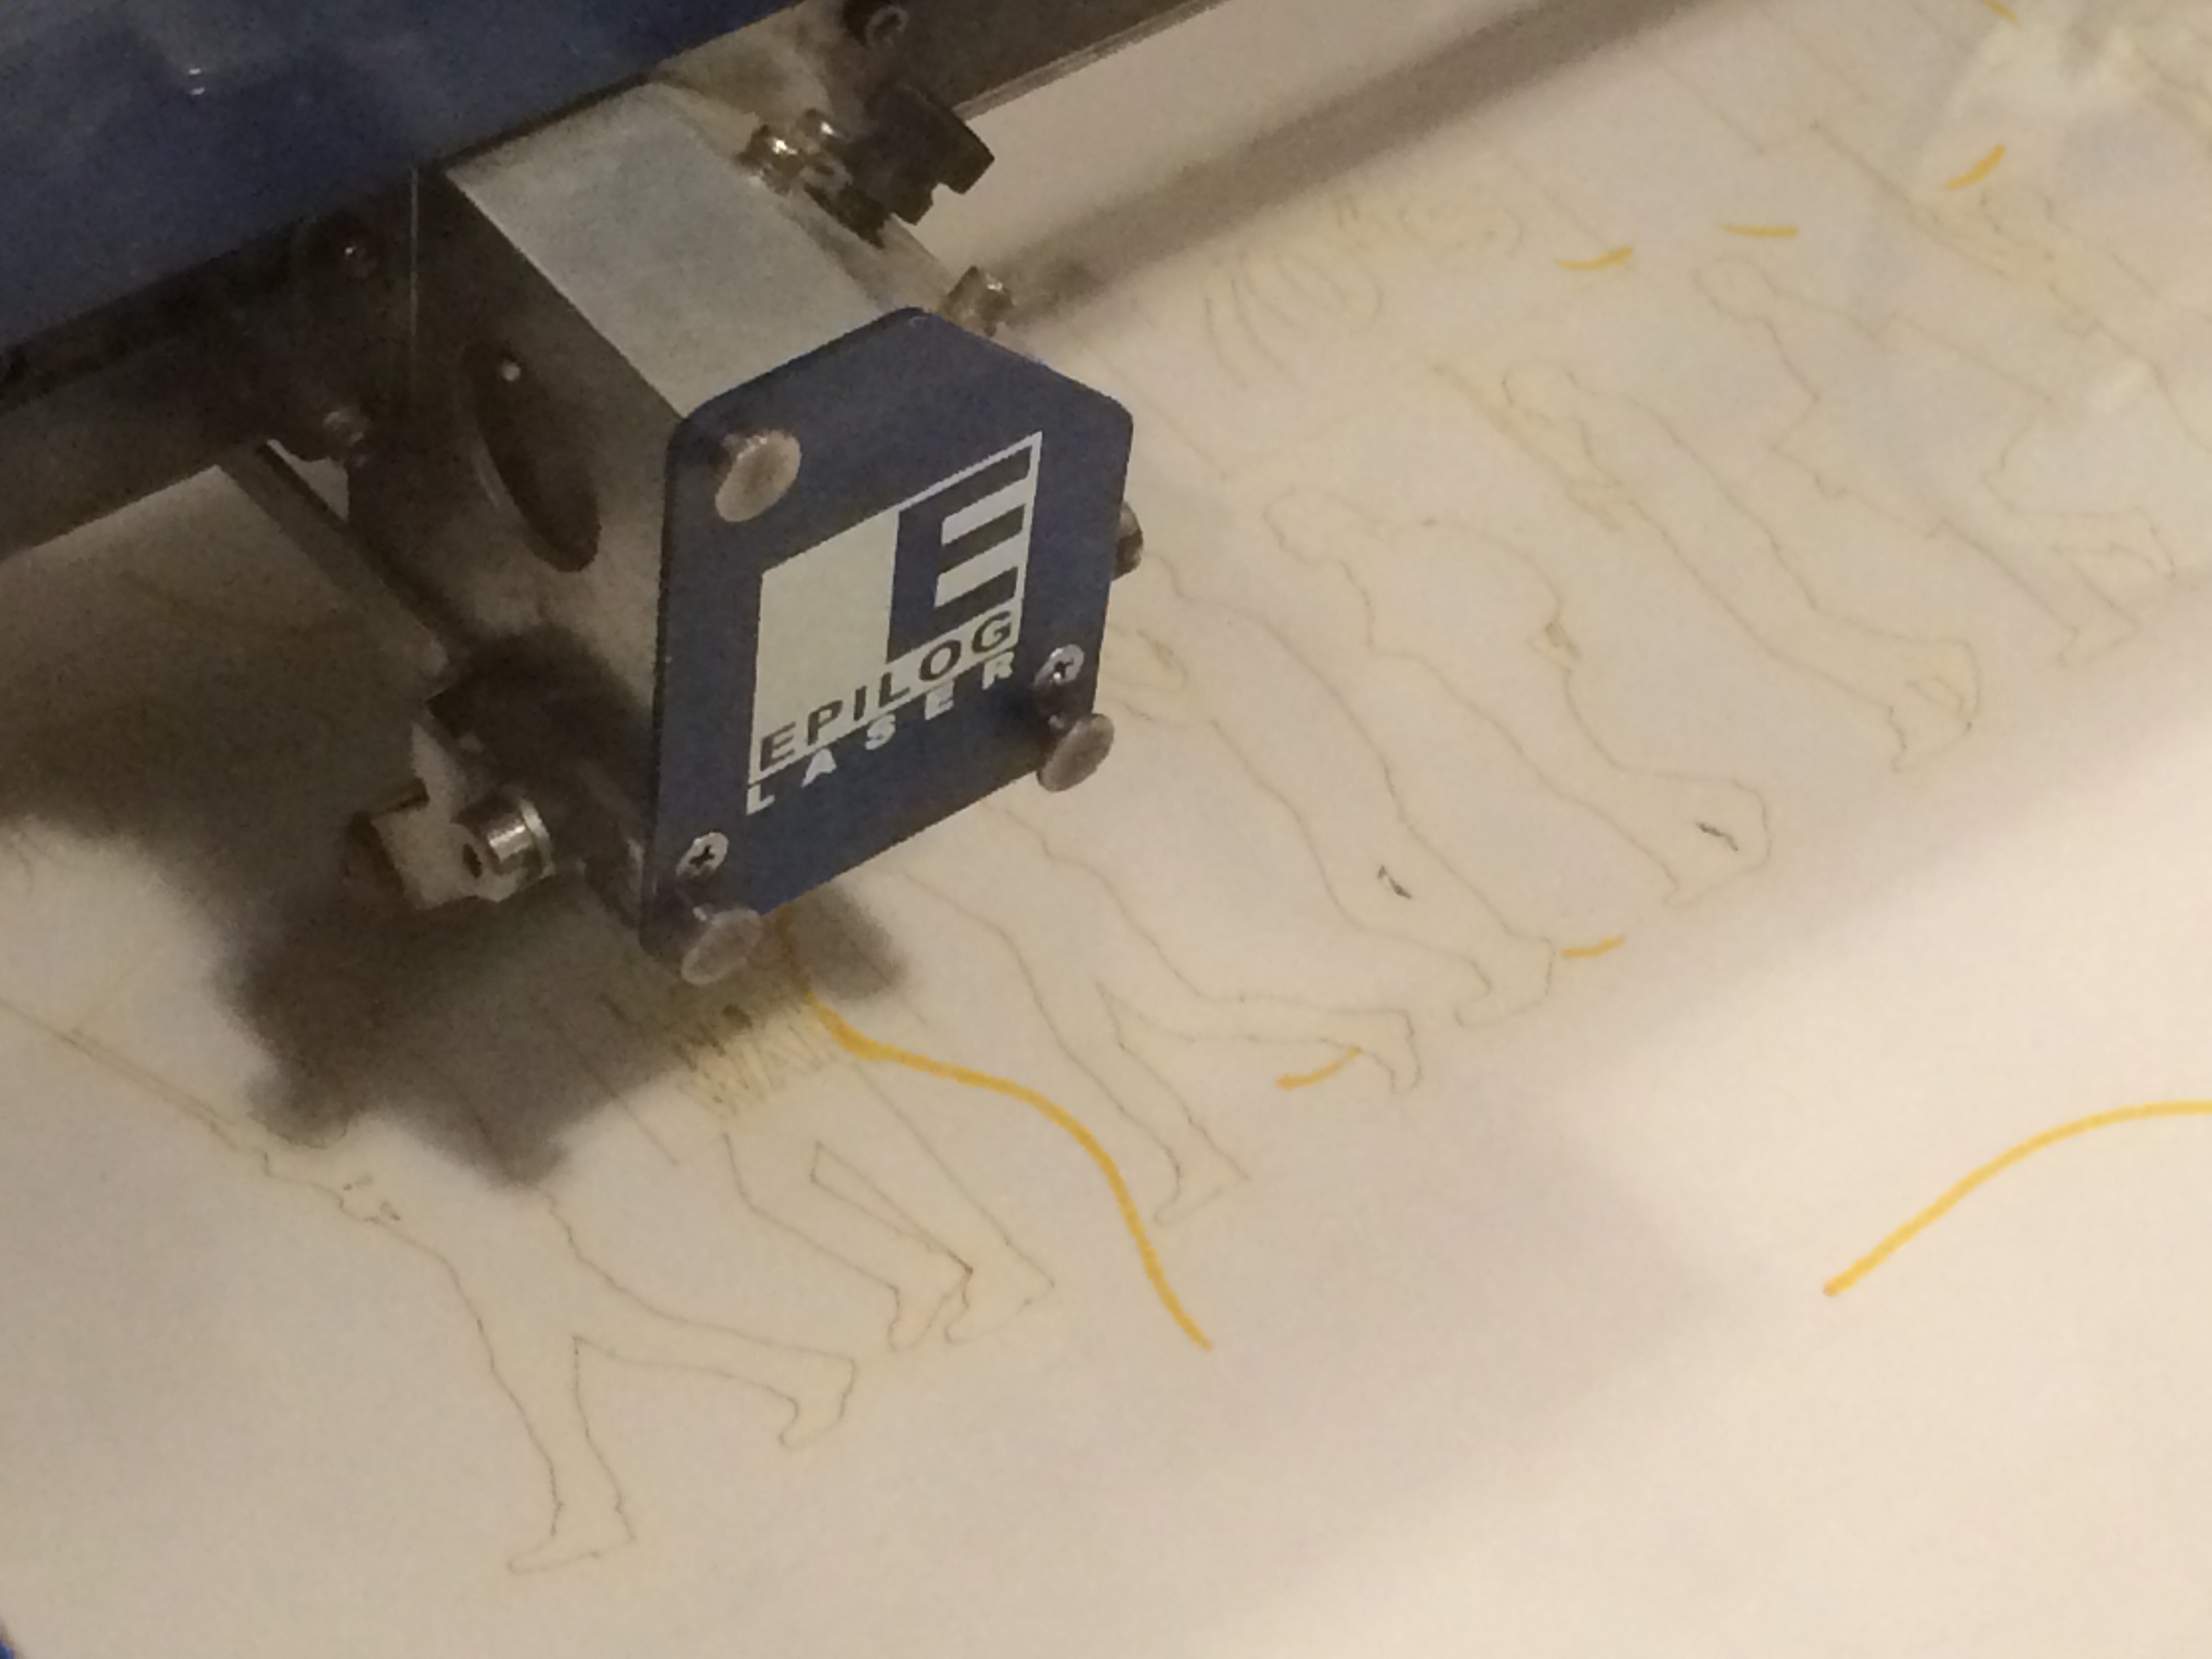
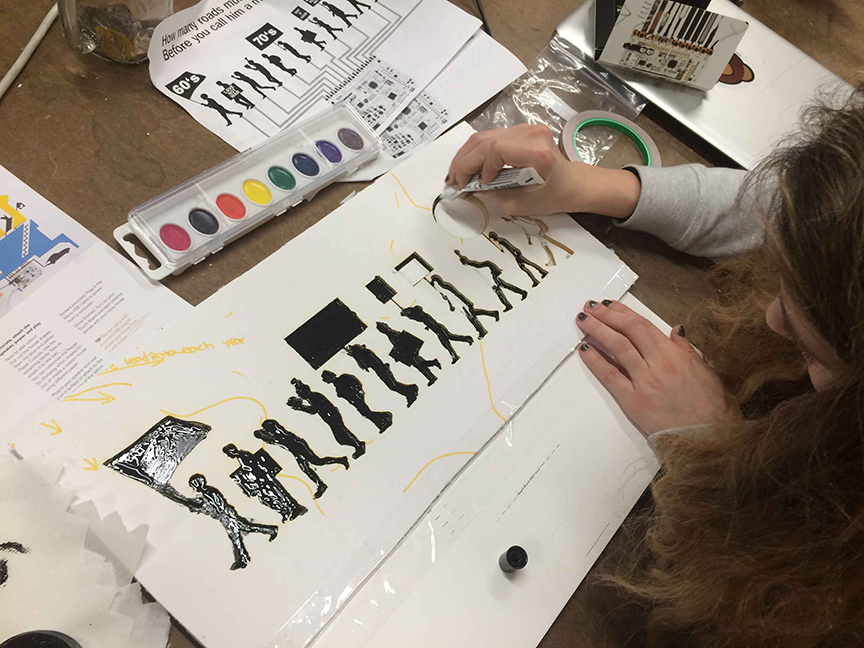
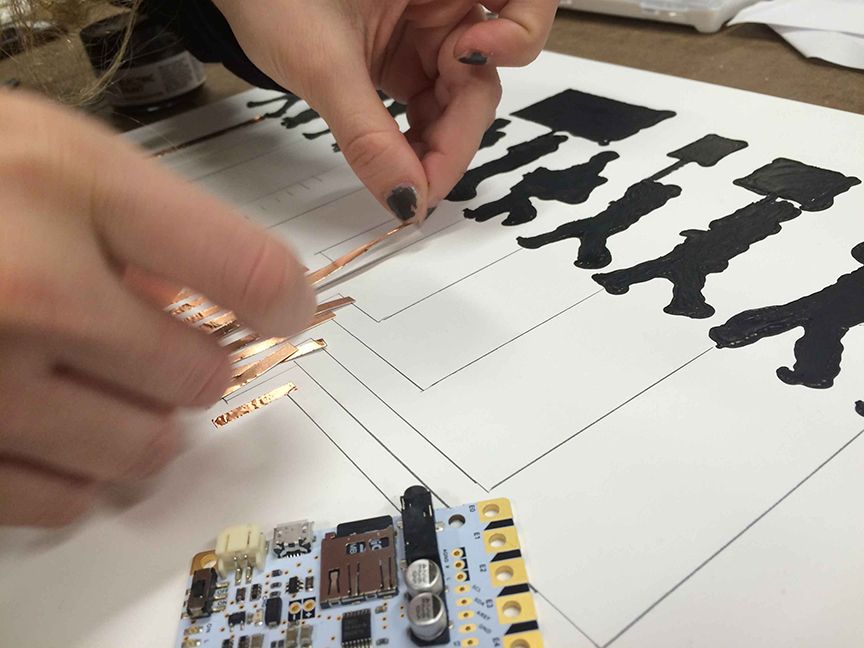
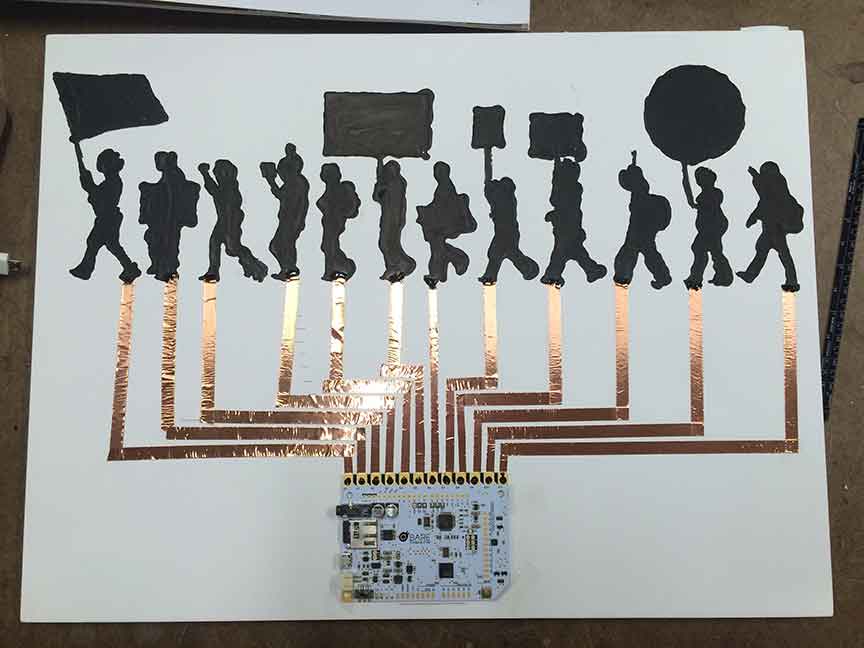
For our final PCOM project, we continued on with the concept of a protest time machine to curate the political/protest songs from the 1960s to current day to help remind us what people have and still are fighting for. In last week’s play testing, we needed to make some big adjustments to the project. Since our original idea was to use the Bare Conductive paint, the buttons didn’t always work and we needed to add more programming and hardware elements to the project. We ended up substituting the paint and touch board for an Arduino Mega board with 20 buttons to help create a durable and reliable interface. We laser-cut silhouettes of the ‘protester figures’ with black acrylic sheets to fasten over the buttons in order to keep our original design. And since we wanted the buttons to not only trigger the music but the video/animation connected to the songs, my group partner, Ariana figured out the schematics and wiring of the breadboards, while using a visual patch wiring program, called Max to help connect the audio and visuals that would later be projected on our canvas of protesters.
CONTENT:
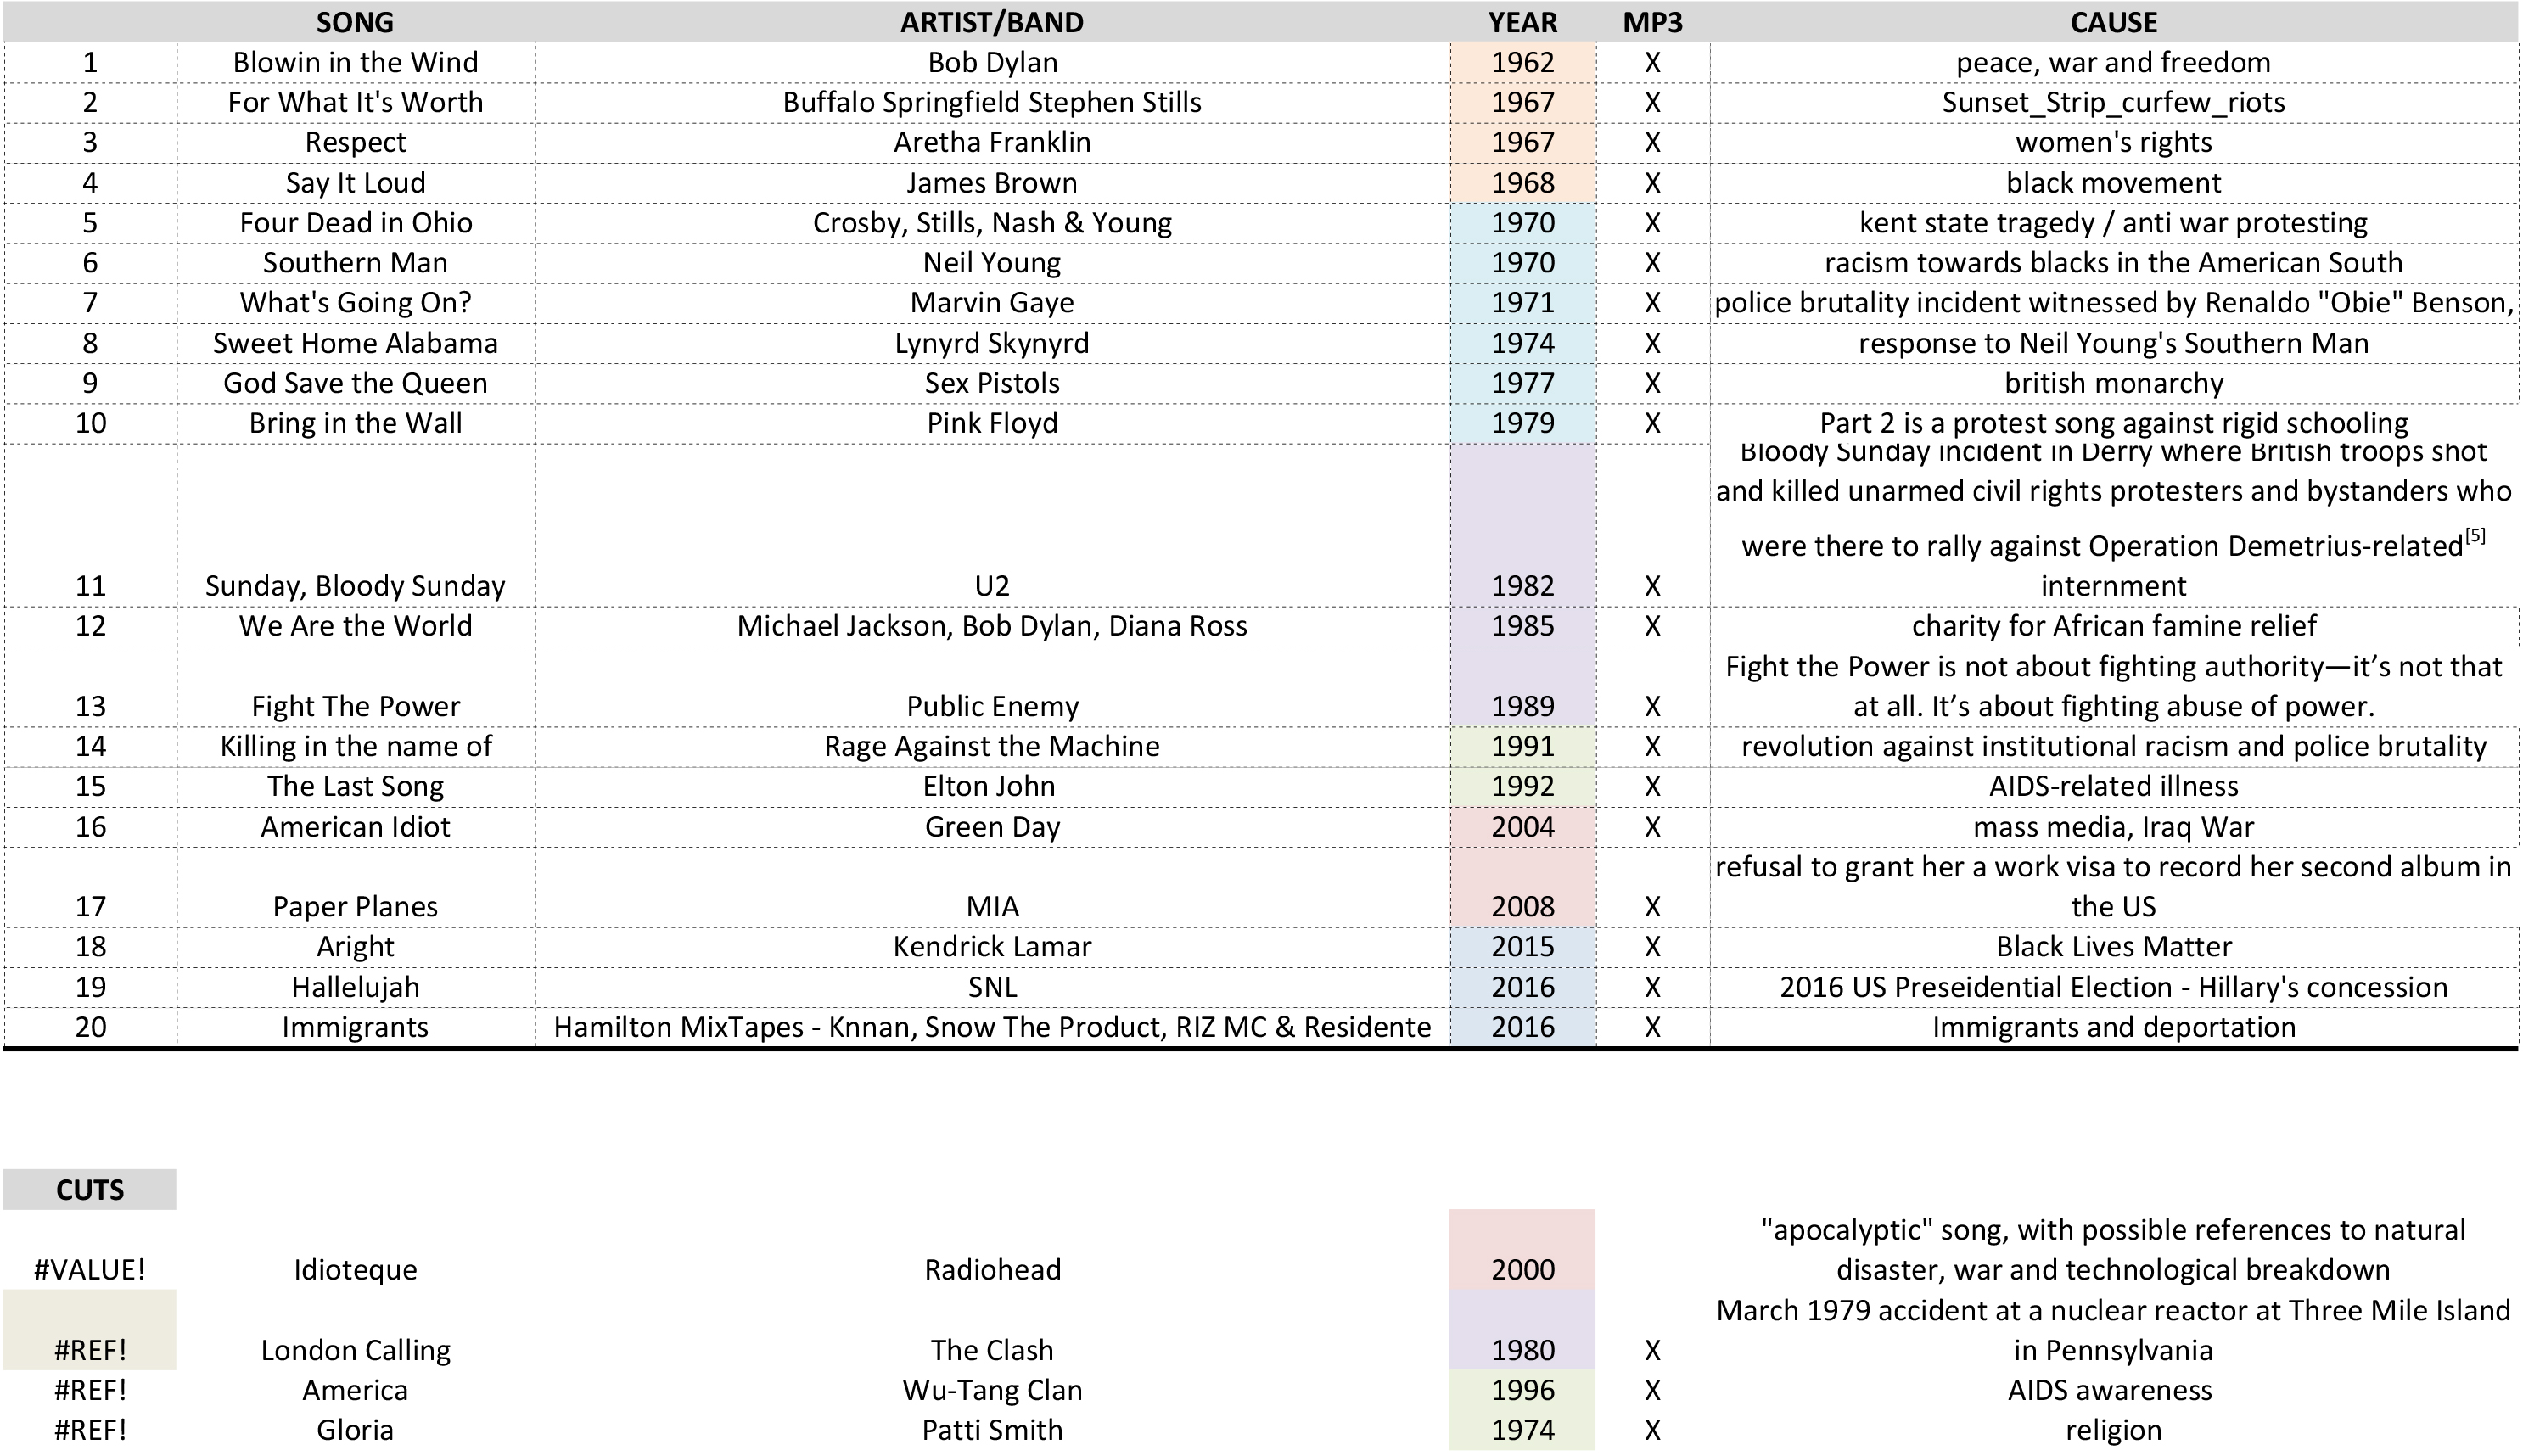
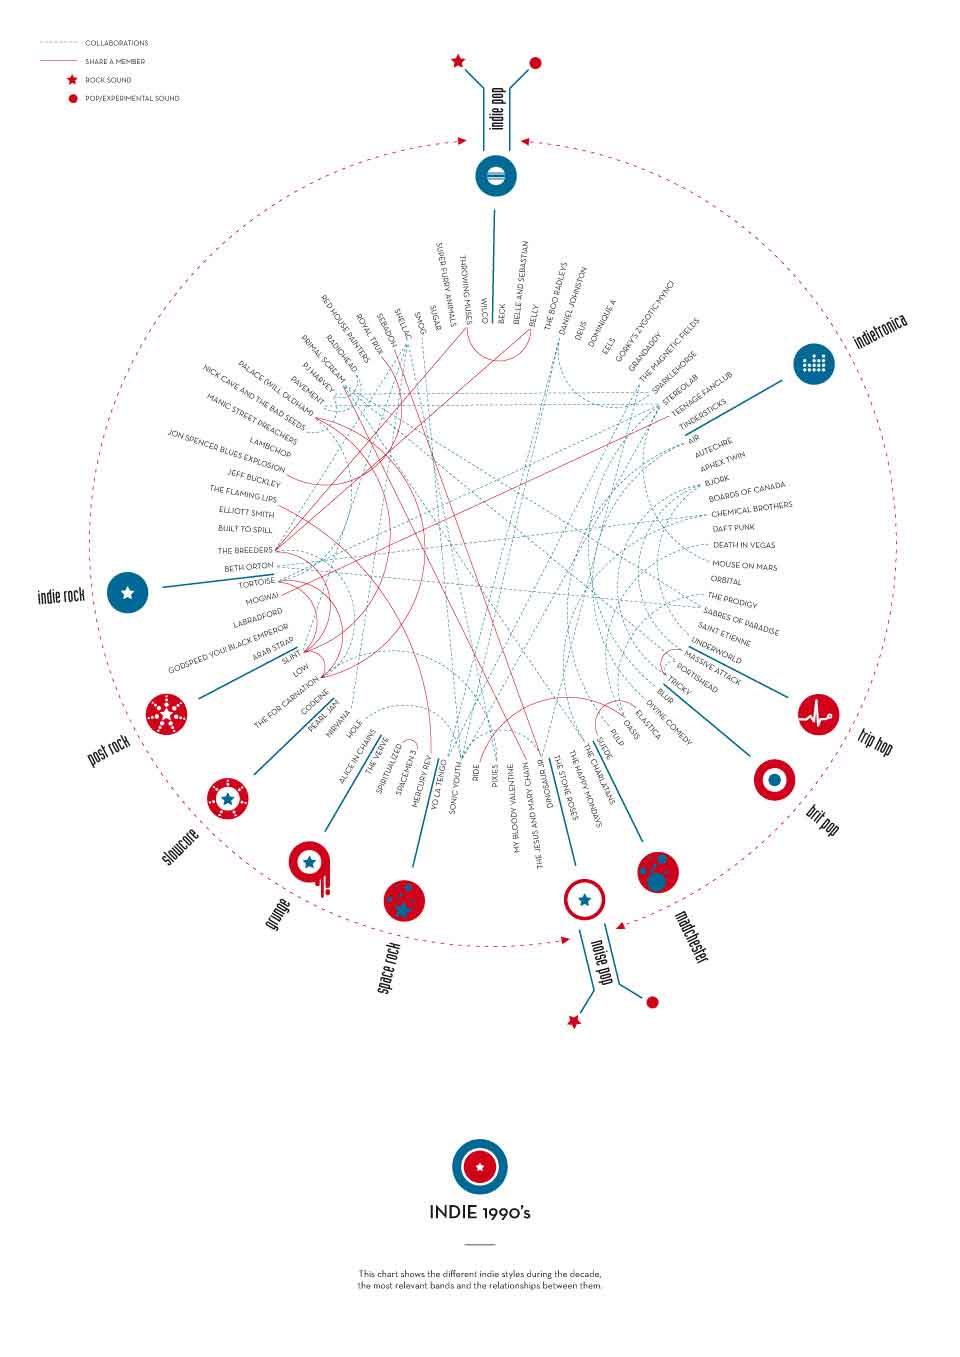
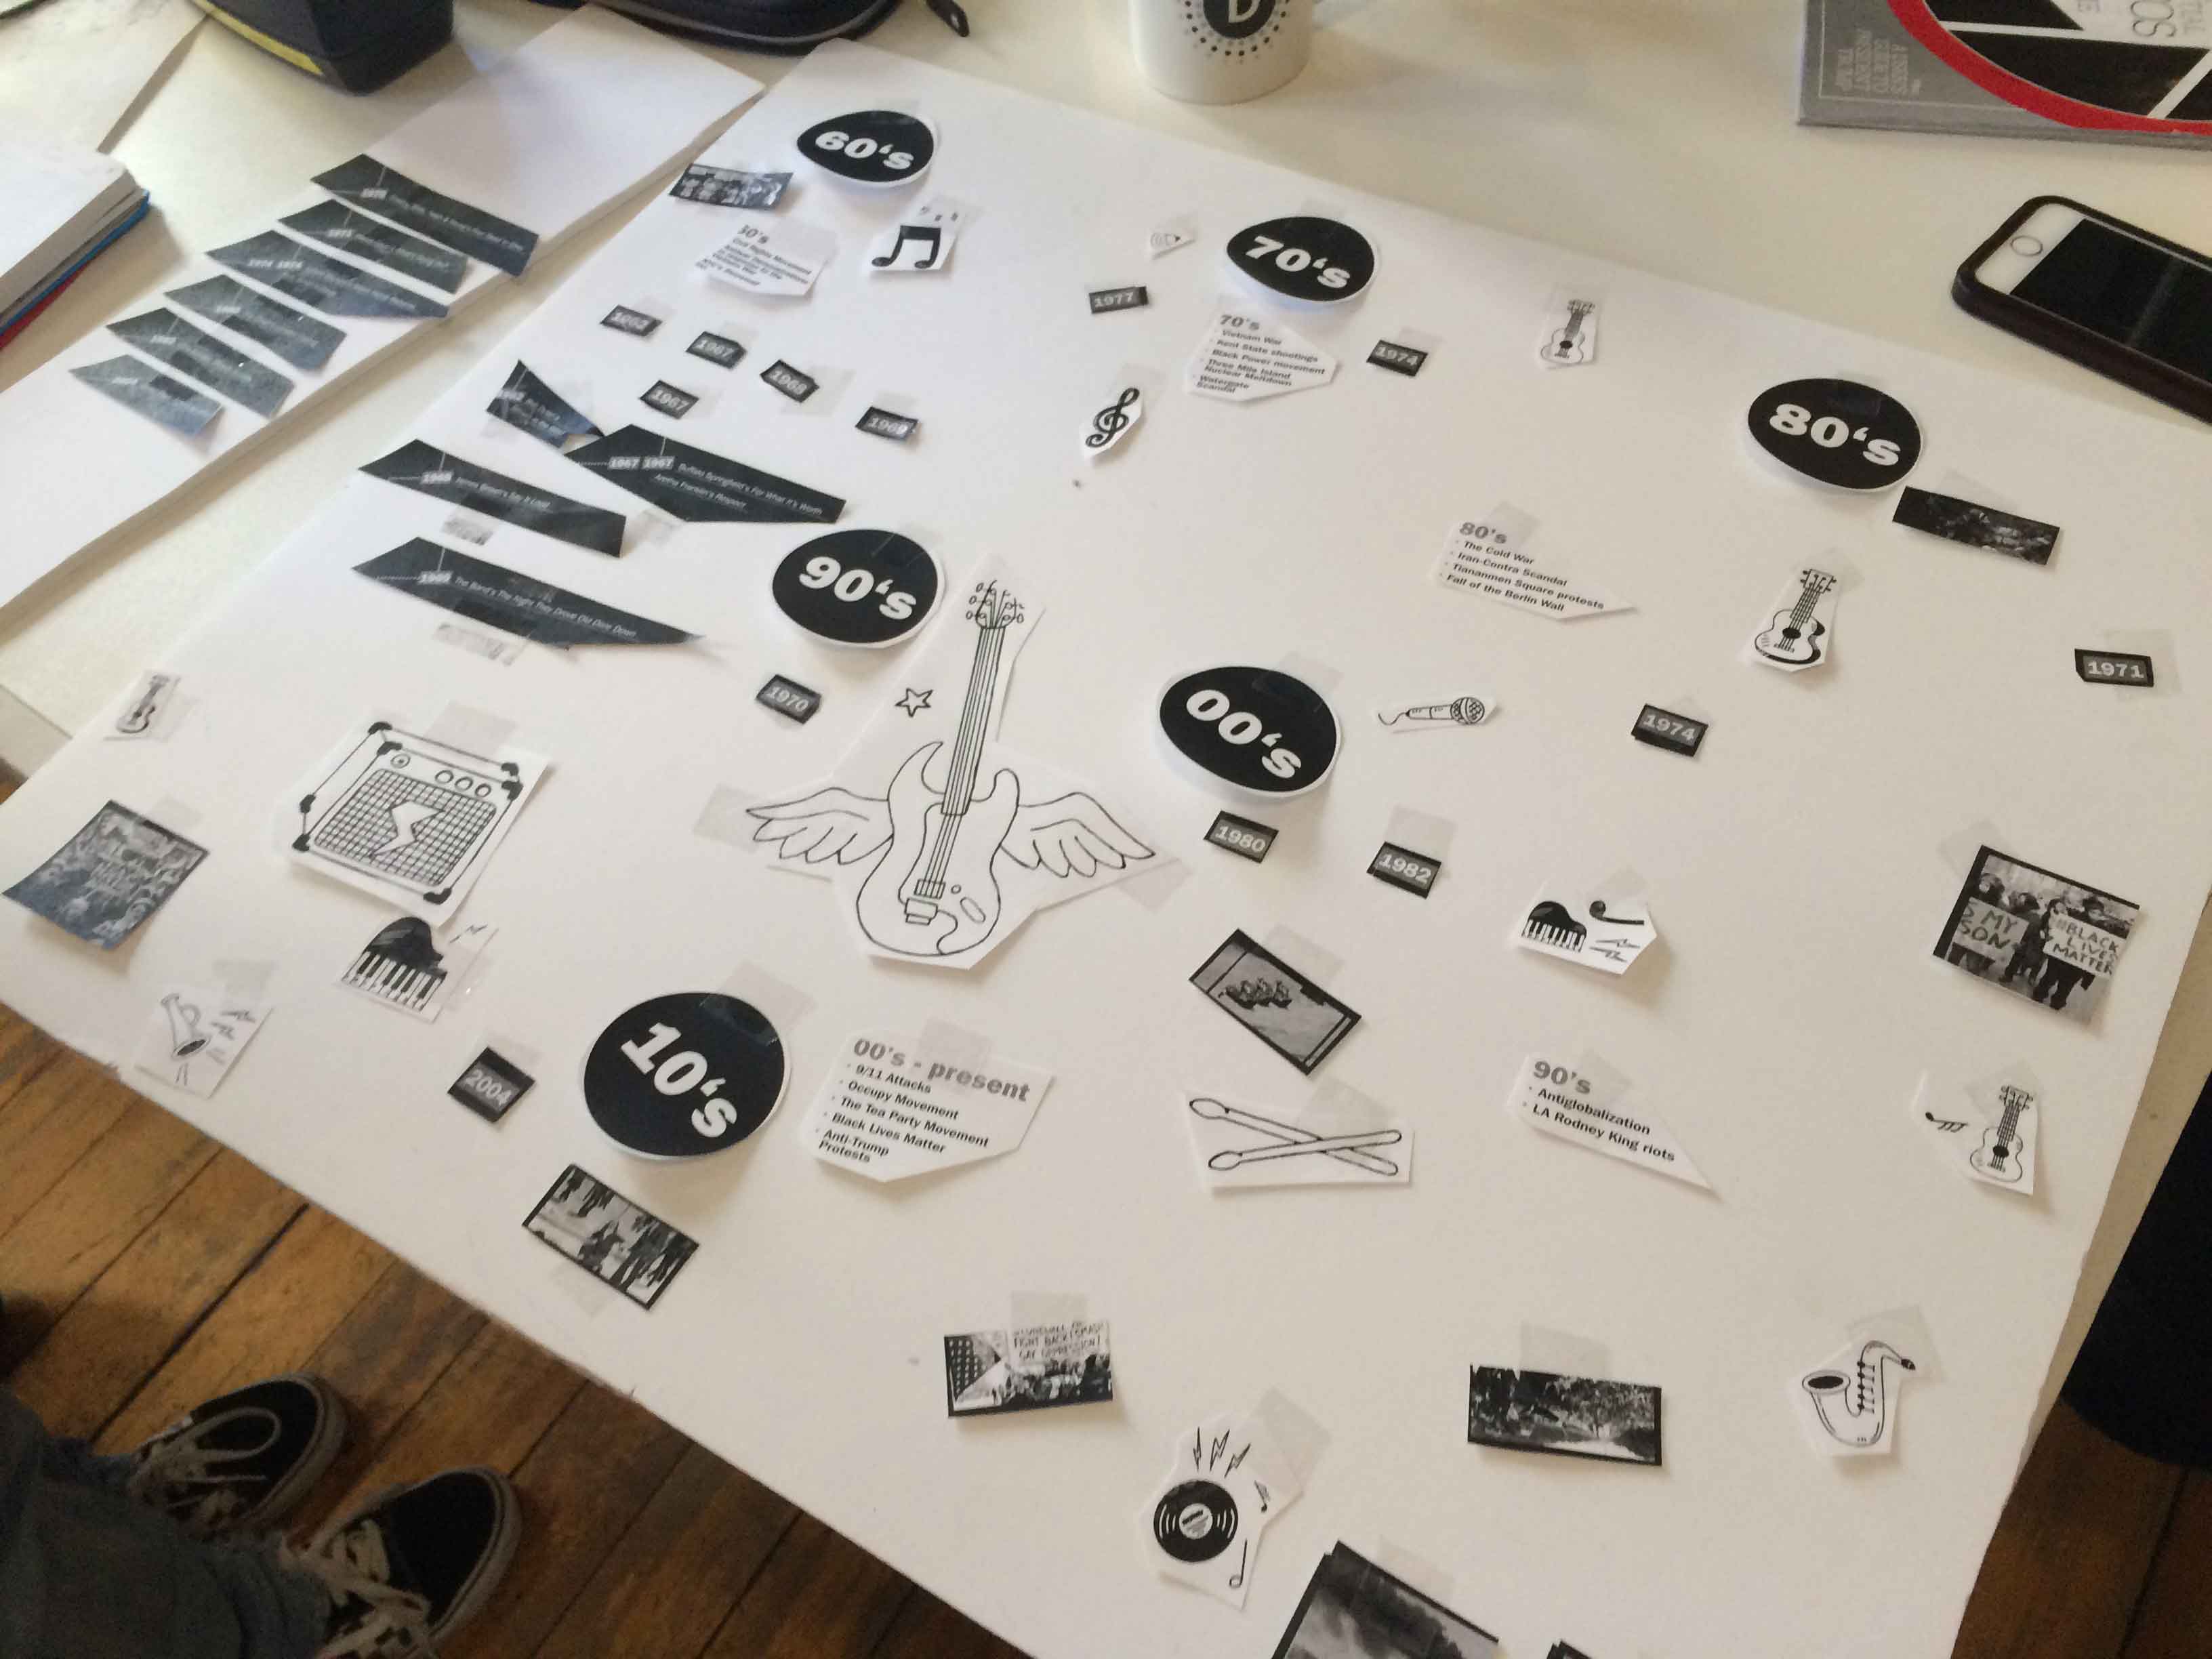
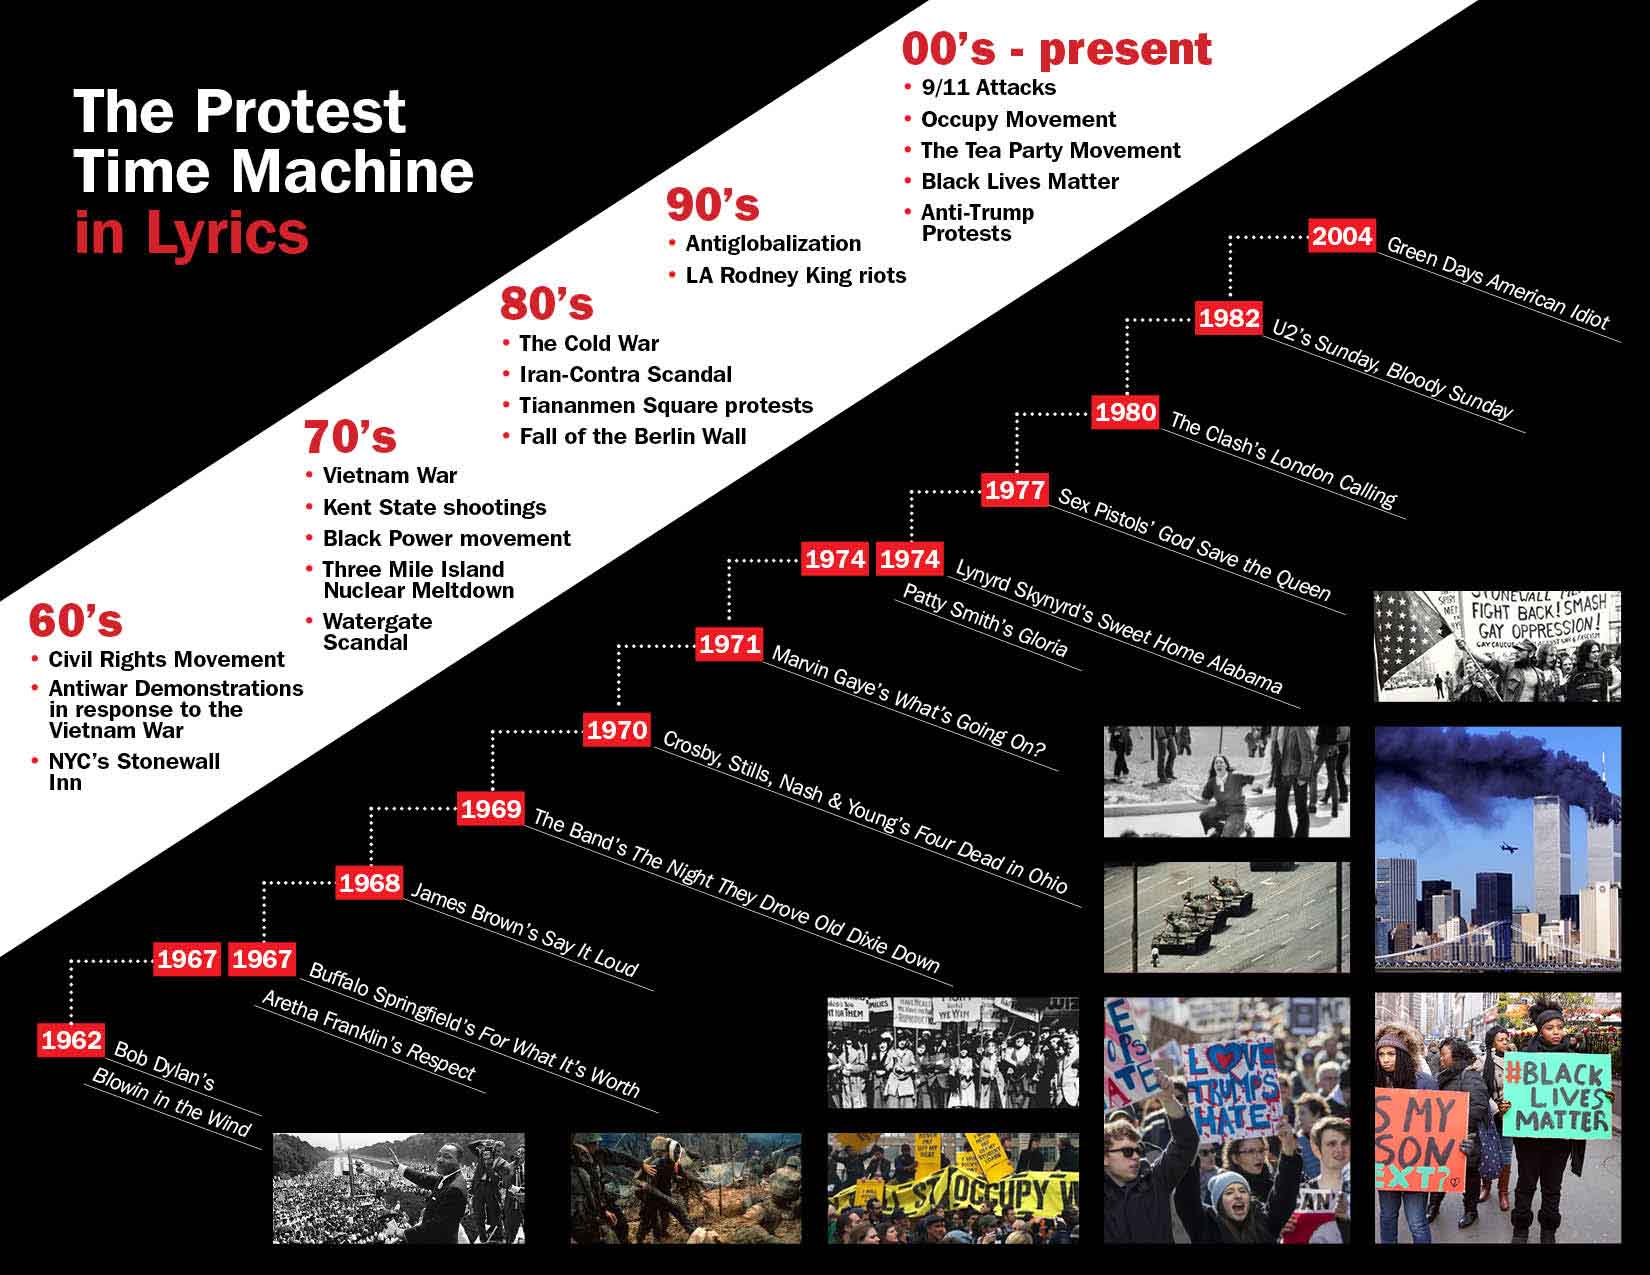
The buttons on our piece were assigned one of twenty songs. We tried to balance the amount of songs within each decade to show the history of protest music, which ranges from anti-war protest to equal rights to curfews on the Sunset Strip. It was interesting to see the progression of James Brown’s Say It Loud song and how he influenced Public Enemy and Kendrick Lamar’s songs about the same issue decades later. And every time we start researching for content, there were just more songs to add to the list and then narrow down. I was also trying to figure out how to visually show the relationship between the songs and came across Mariona Ortiz‘s impressive infographics on 1990s songs as inspiration.
CODE:
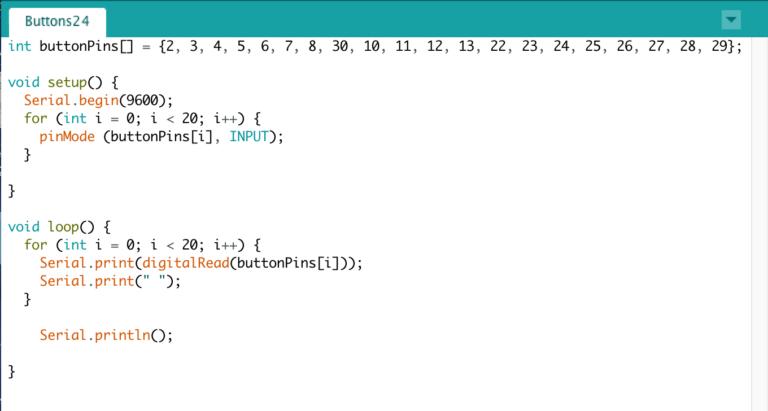
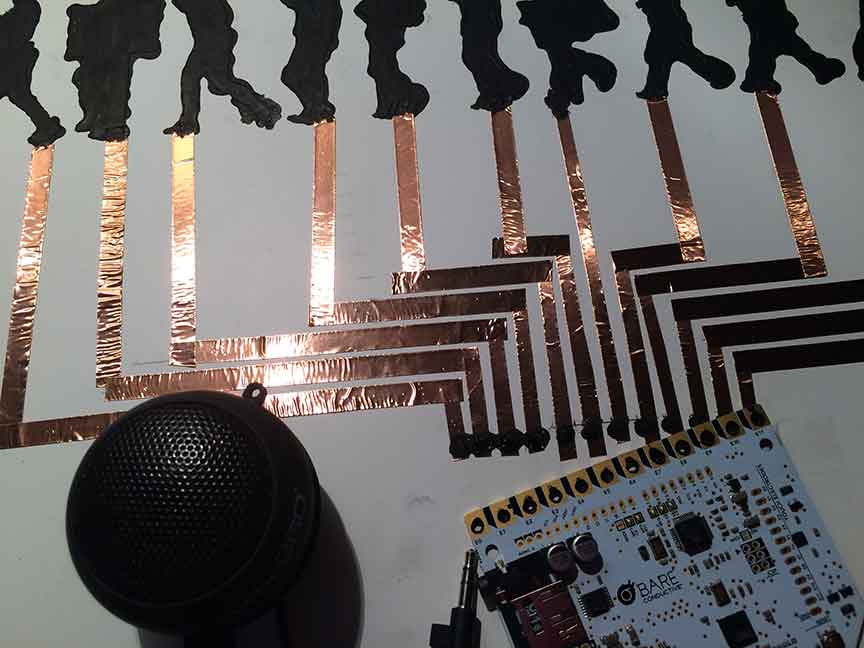
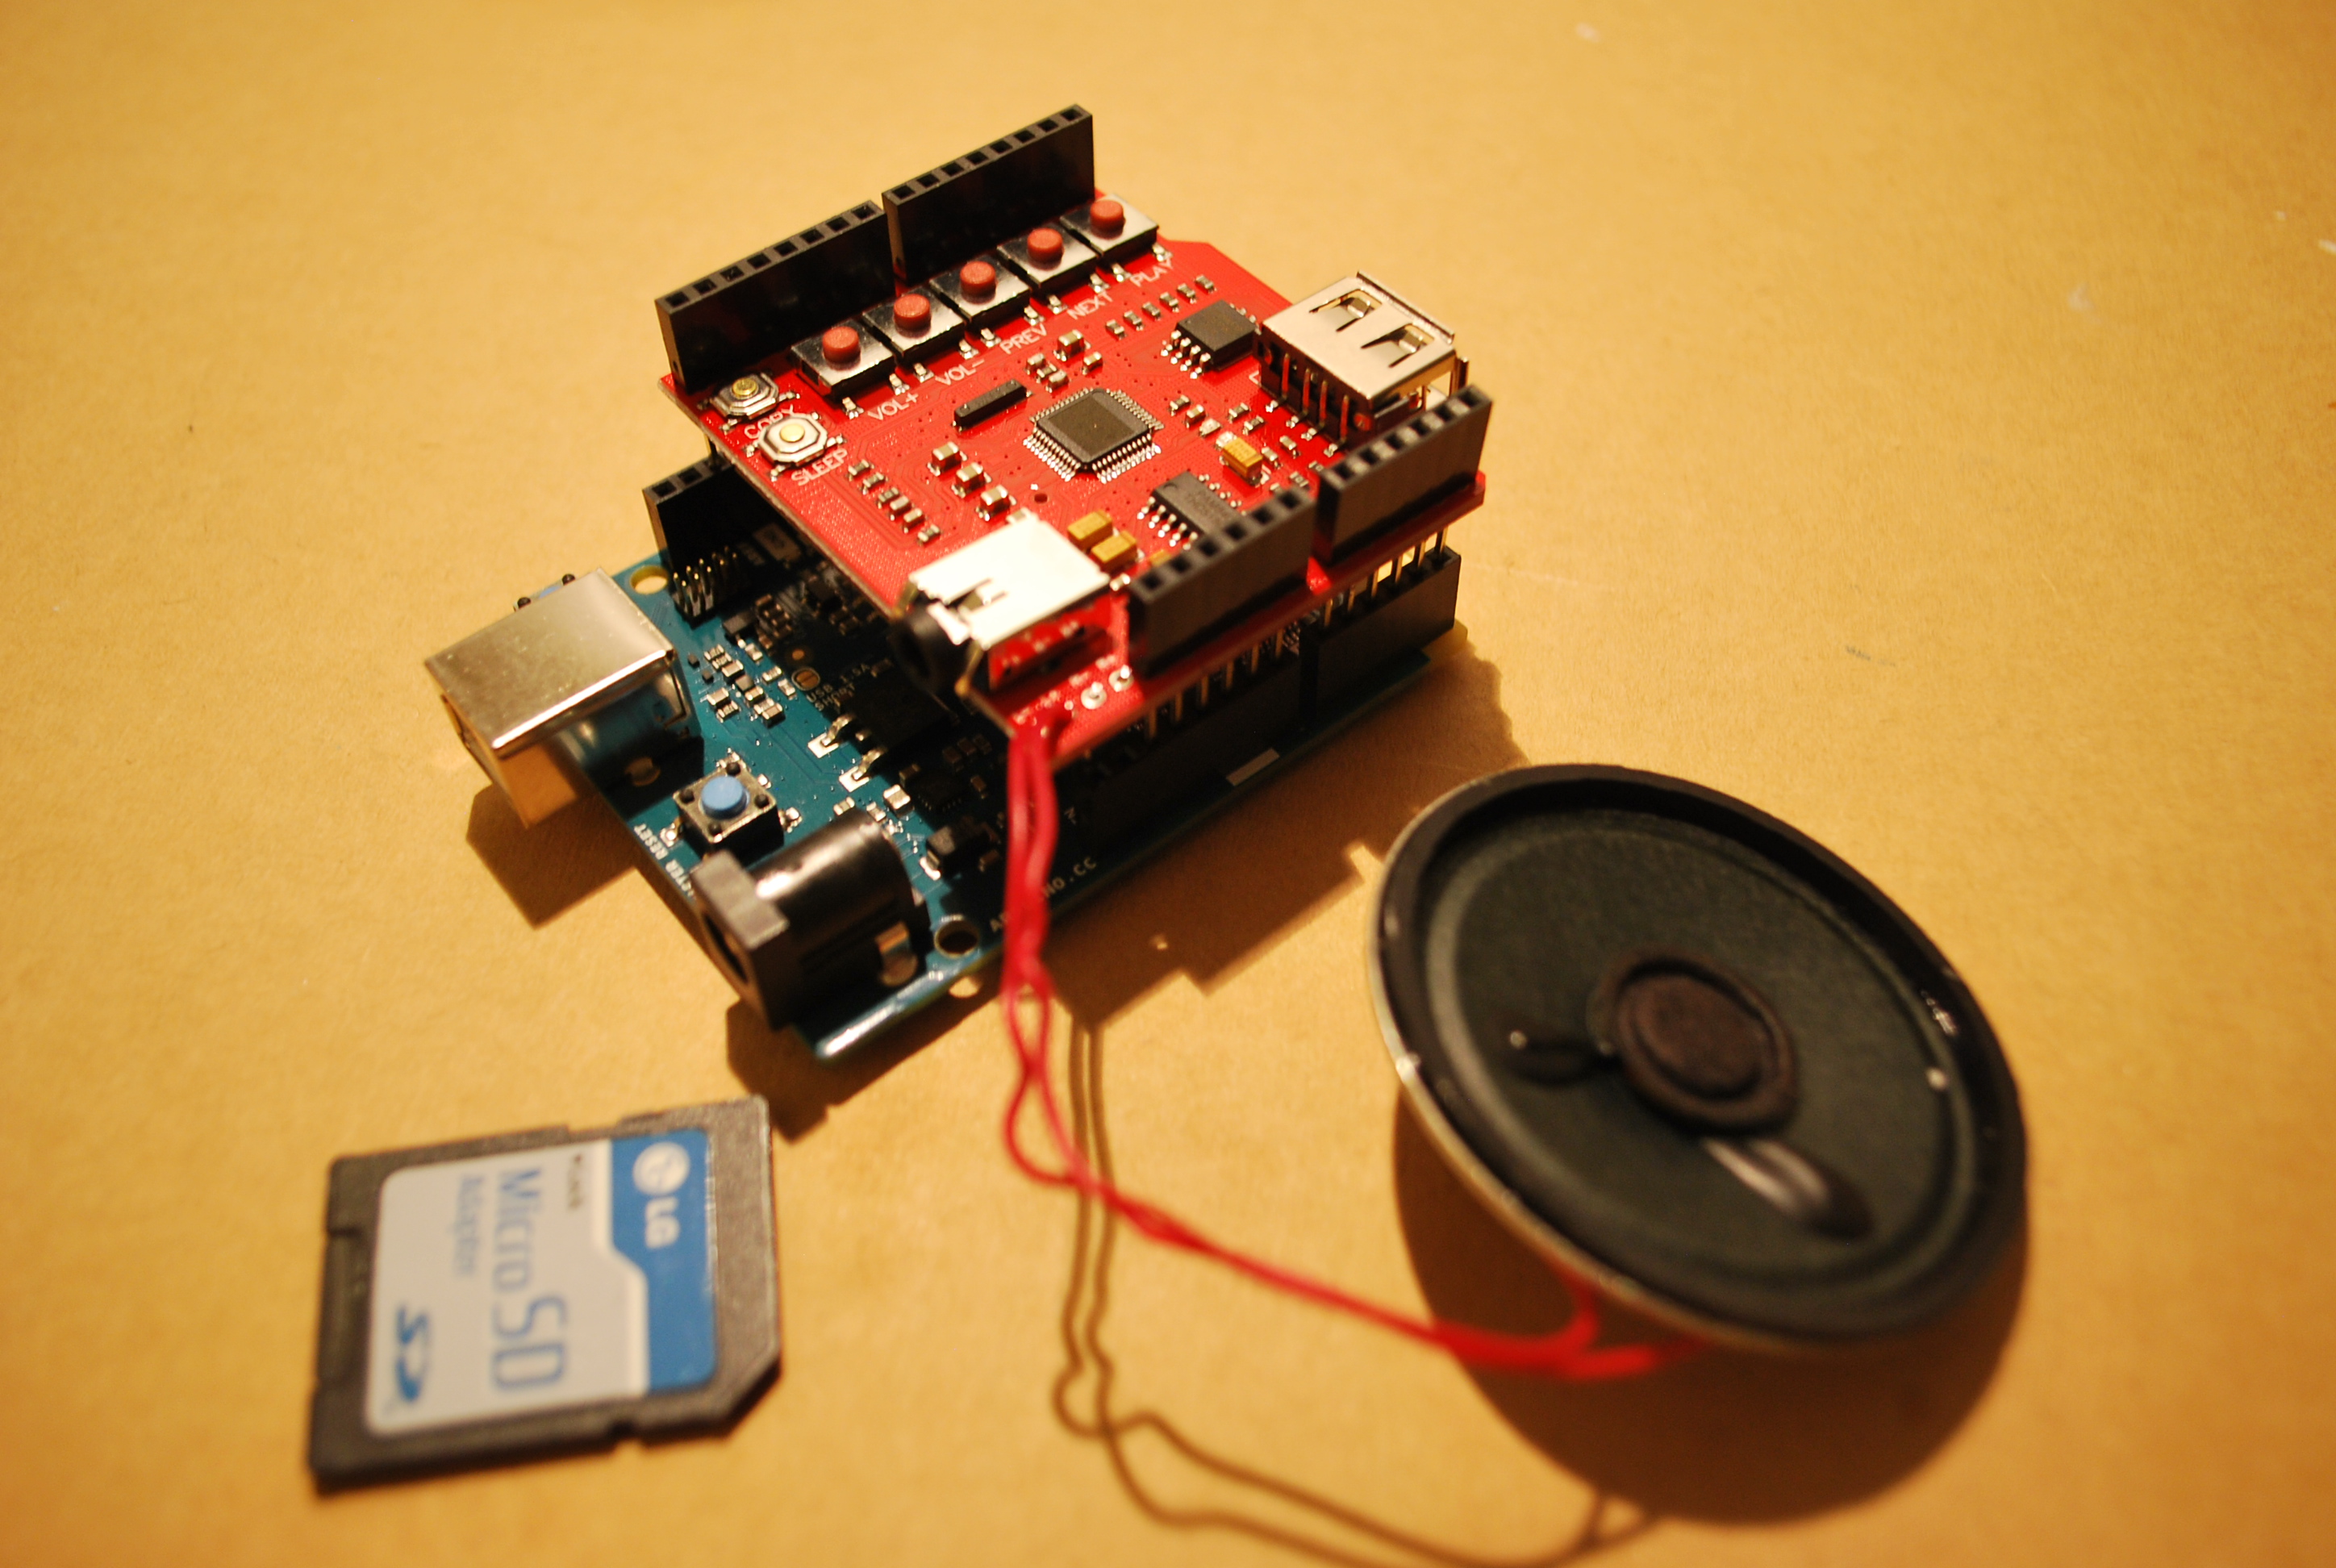
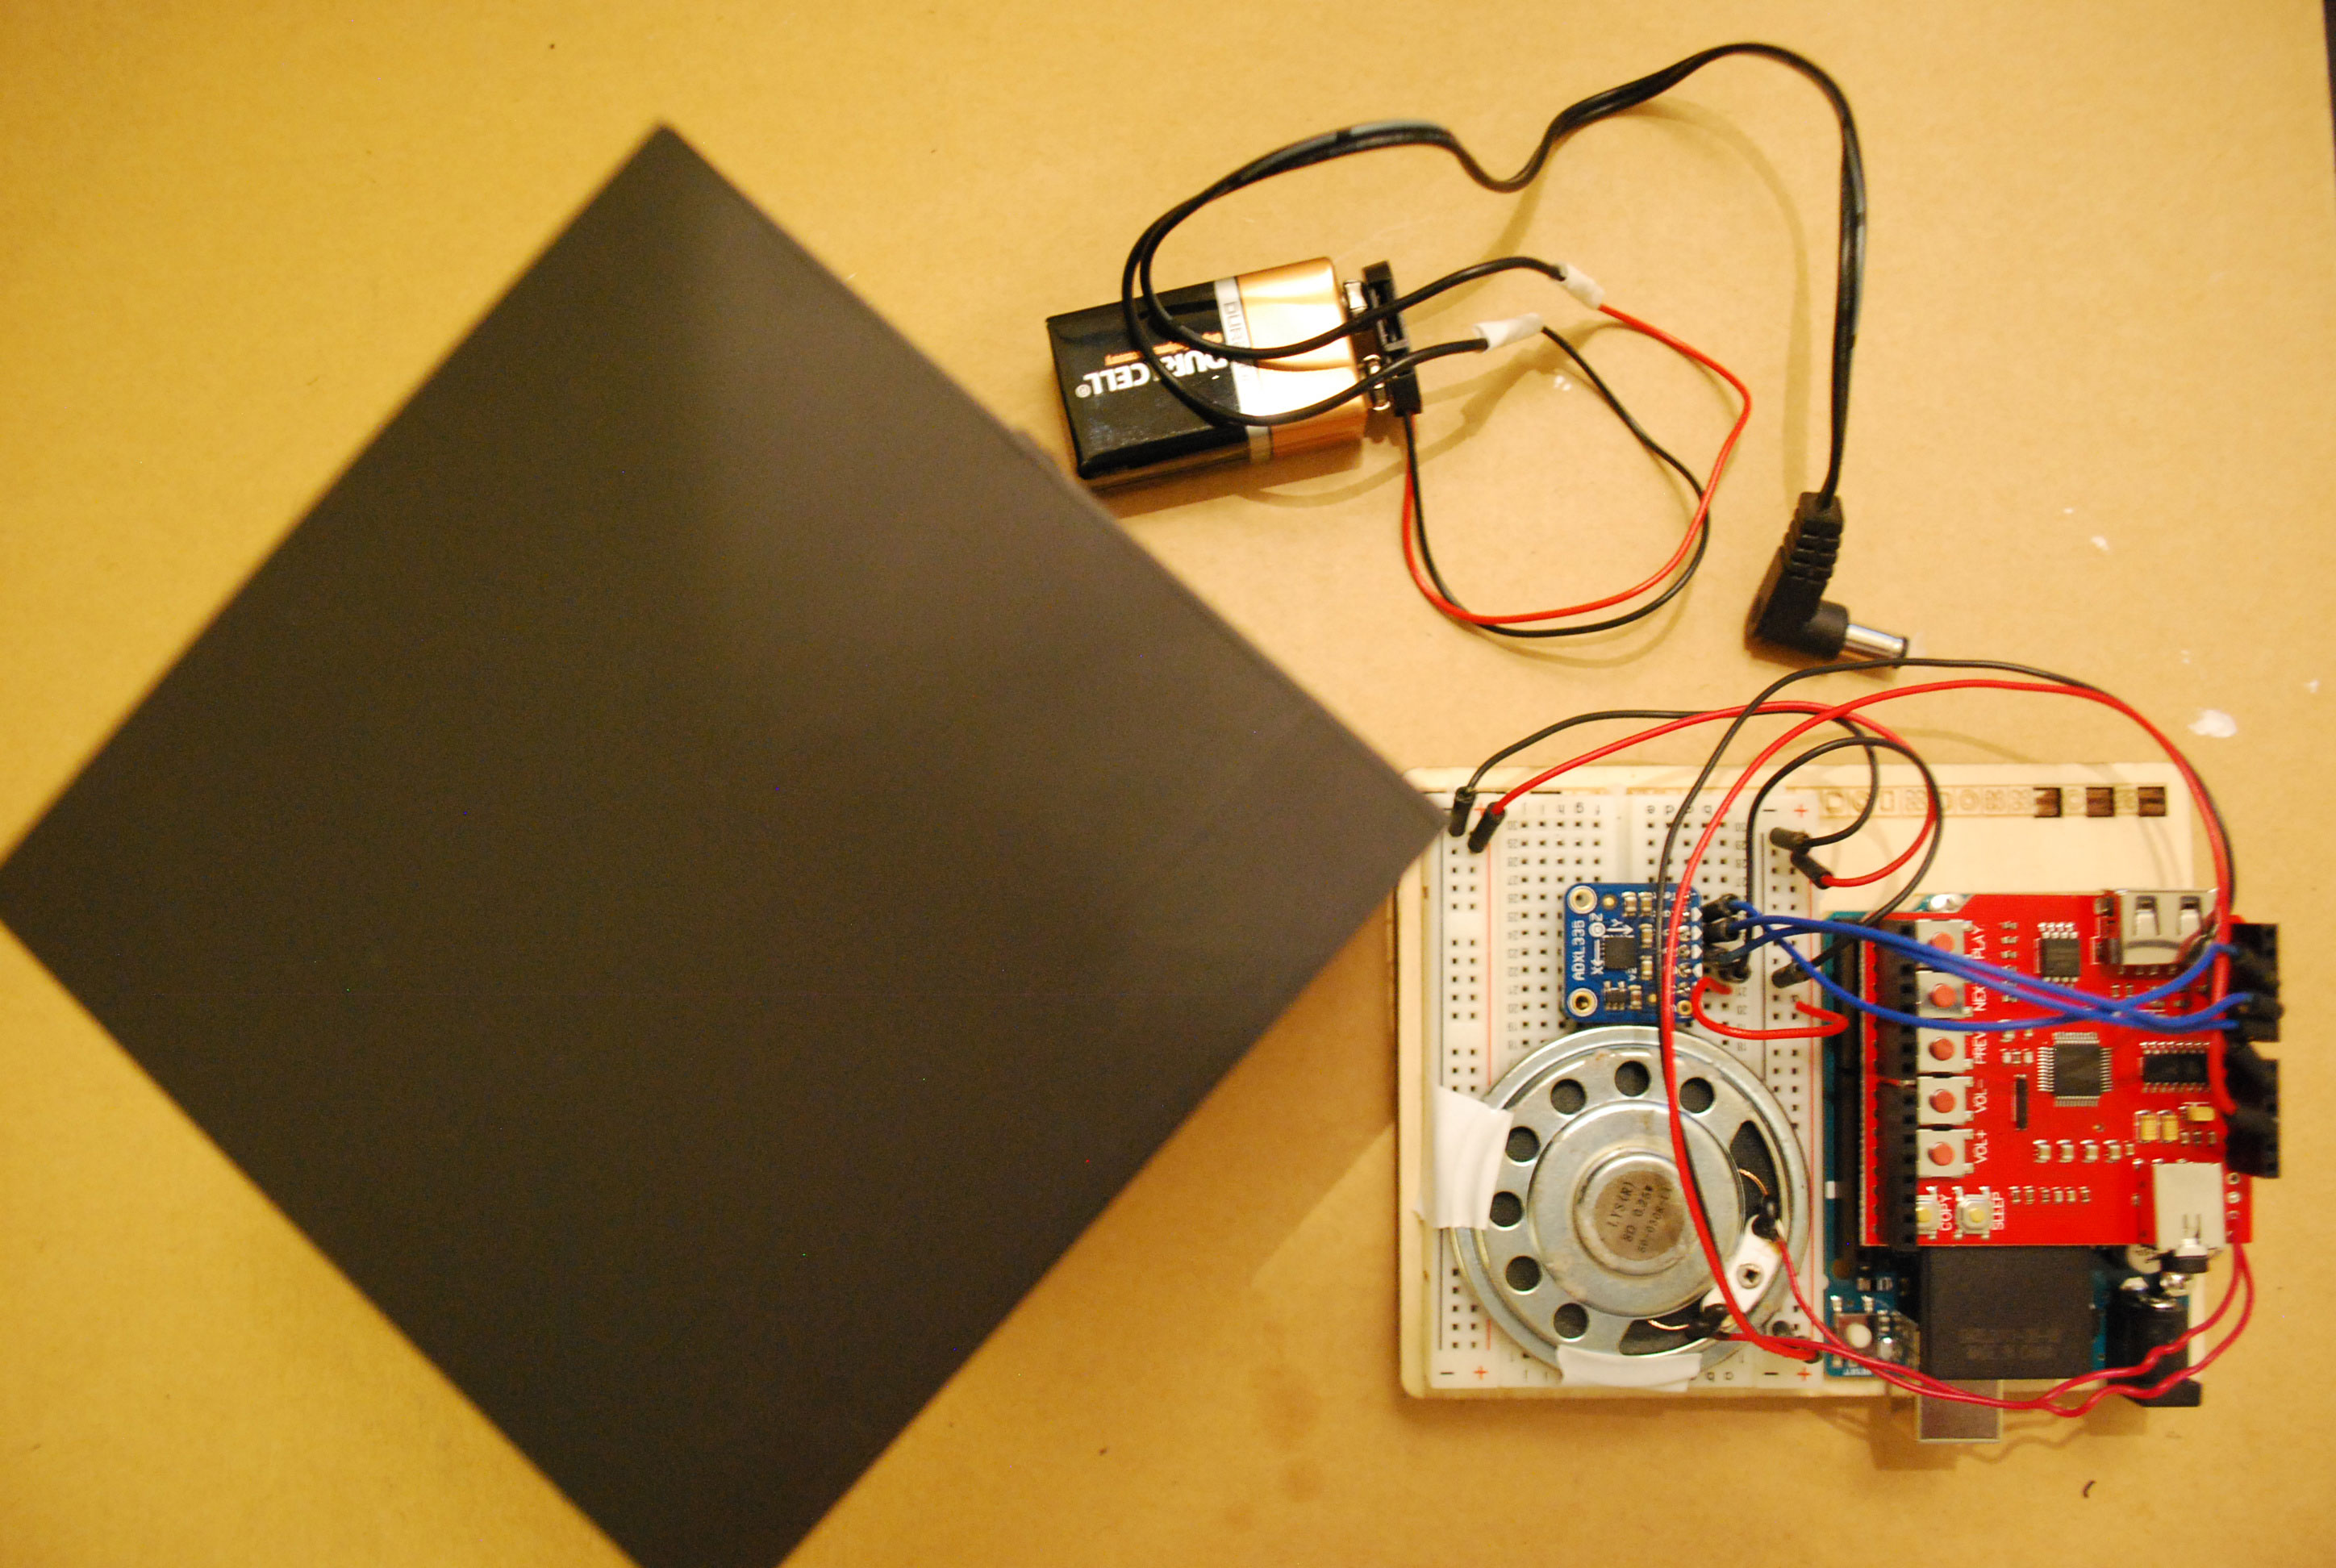
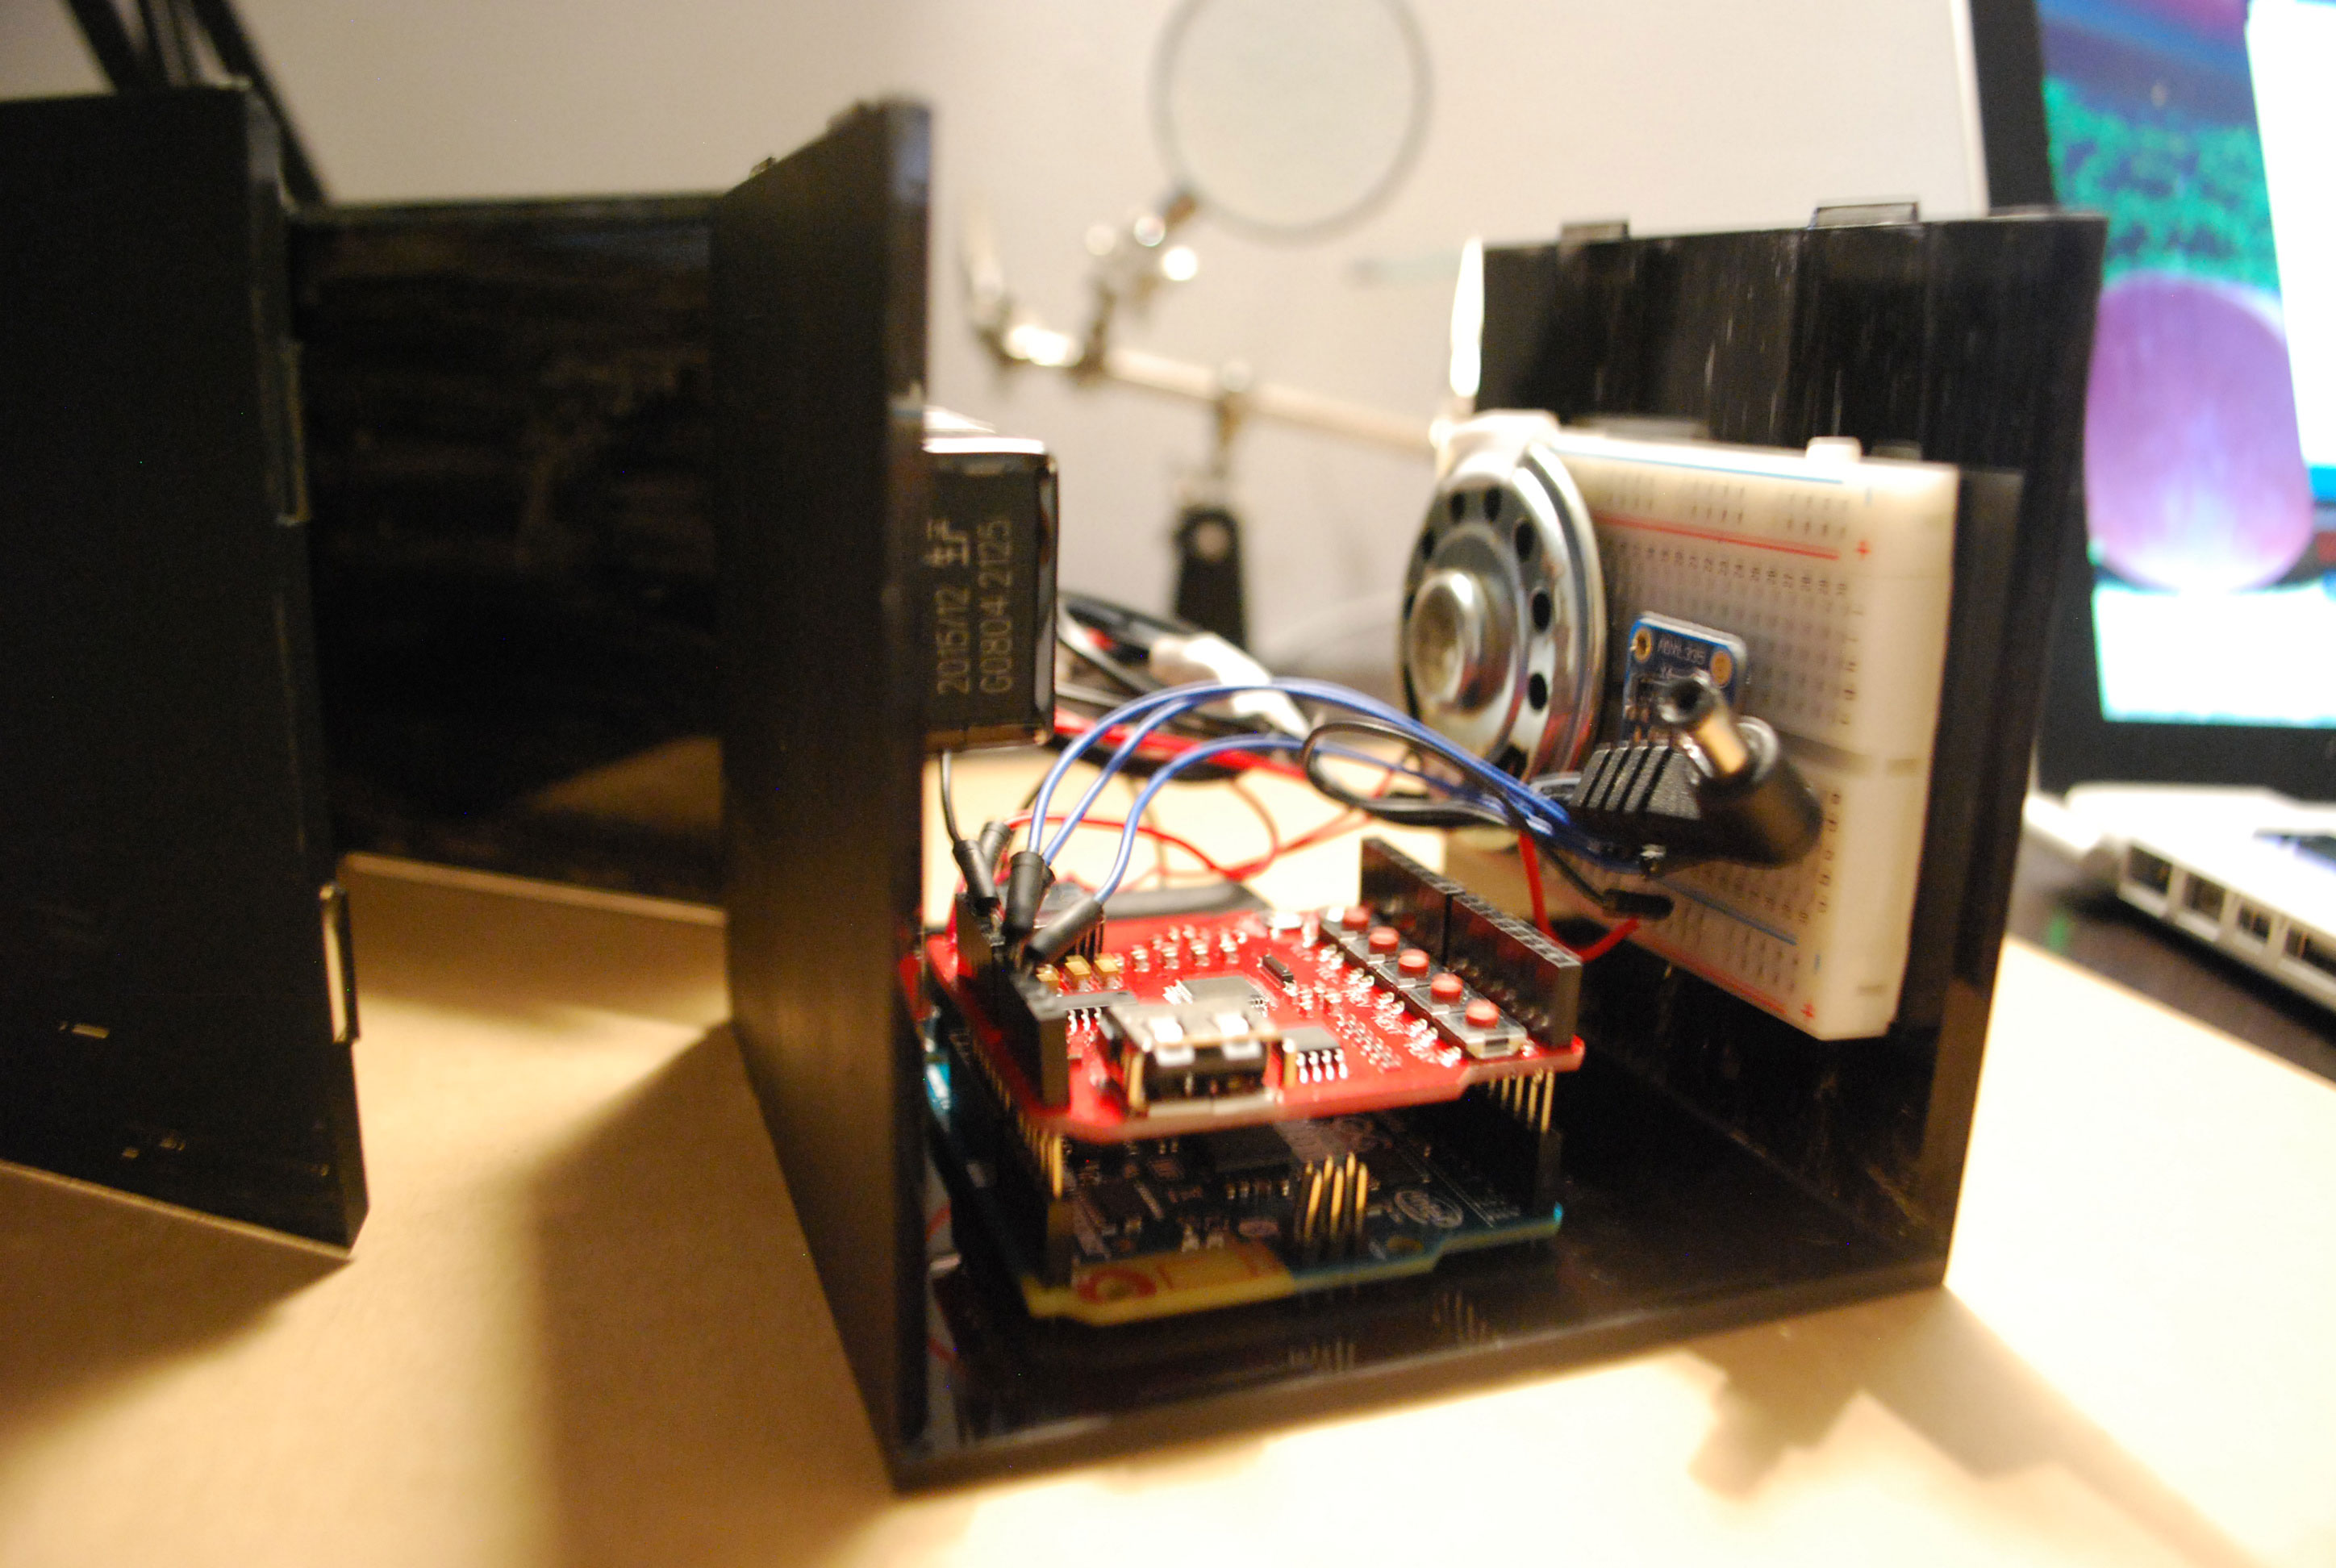
BOARD VIEW:
On the final version, the buttons were separated into 4 long breadboards to accommodate a larger sized button.

VIDEO DEMO:
REFFLECTION:
After hearing the feedback from our final presentation in our last class, I know that there are things to improve upon for this project. First, I would recommend to anyone taking PCOM to take a fabrication class with this class. I was scared of “the shop” and it was not on the top of my list of classes to take, but for all these midterm and final projects, using laser cutters and knowing how to use the tools just adds that polished touch to these PCOM projects. During my first PCOM class, I said that my tool of choice was an X-acto blade and now I have this newfound appreciation of constructing physical objects with something other than paper, especially after being inspired by all my fellow classmates’ projects. Thinking of fabrication also goes hand-in-hand with what buttons and sensors to use and where to place them. I’m scheduled to take the Piecing It Together class next semester and will hopefully get to work on a plinko-like clock idea that I came to mind when thinking of PCOM final project ideas. If I were to continue on this project and learning from the hiccups of building the initial interfaces of this time machine, the things to improve from the first prototypes are: constructing a sturdier and neater interface eliminating the split of the 2 boards in the middle; using more compact solderable breadboards; and using spacers or a frame to hold/hide all the wires and micro-controller together. In terms of the design, we tested the projector on the canvas after I made the animations, and noticed after the fact that my text was too low and cutting into the bottom silhouettes of the protesters making the lyrics unreadable. I would redesign the animations so the text stays in the upper top of the screen, just above the protesters’ heads.
Another improvement for this project would be creating more instant gratification when a button is pressed. We first had a whole song playing whenever a button was pressed which probably got boring if you weren’t into the song, but most users wants quick responses especially when they are running through all the buttons quickly. I tried to shorten the songs when I was making the animations, but after watching people interact with the latest version of the interface, I see that the clips need to be even shorter. A solution to this would be to add a toggle switch to create a few different modes of listening, (example: Mode #1: Short chorus of the song to make a beatbox-like instrument with all the buttons; Mode #2: Whole chorus with accompanying video/animation projection; Mode #3: Listen to the whole song). I also like the idea, which was a response from our final presentation, of making the interface more practical by being able to press two buttons at once, have the videos branch out of each ‘protester’ button to create a side by side video experience, so the user could compare and contrast the video/animation of the chosen songs, especially if the user is comparing videos representing different eras of history.
My professor, Tom Igoe’s suggestion to develop the story first and figure out the medium within which to tell a story later is something that I’ll always think of when starting a project. We were struggling at first to pick a project that we were both happy with, but we knew we wanted to work with projection mapping and videos. In this project of presenting protest songs as a timeline, the idea was initially to create an interactive TV set or something physical like that to tell the story, but it morphed into the conductive paint then into this projection canvas with graphic physical buttons. Because of the subject matter, I did end up spending too much time on gathering the content and building these videos for each song (while improving my Adobe Premiere skills), and less time concentrating on the sensors and interaction aspect. Next time, I would try to take a more balanced approach or tackle a less complex subject matter for an assignment like this.
CREDITS:
Protester Silhouettes were purchased from iStock by Getty Images; Matte Black and White Acrylics Sheets from Canal Plastic Center; All songs were purchased on iTunes.


You must be logged in to post a comment.