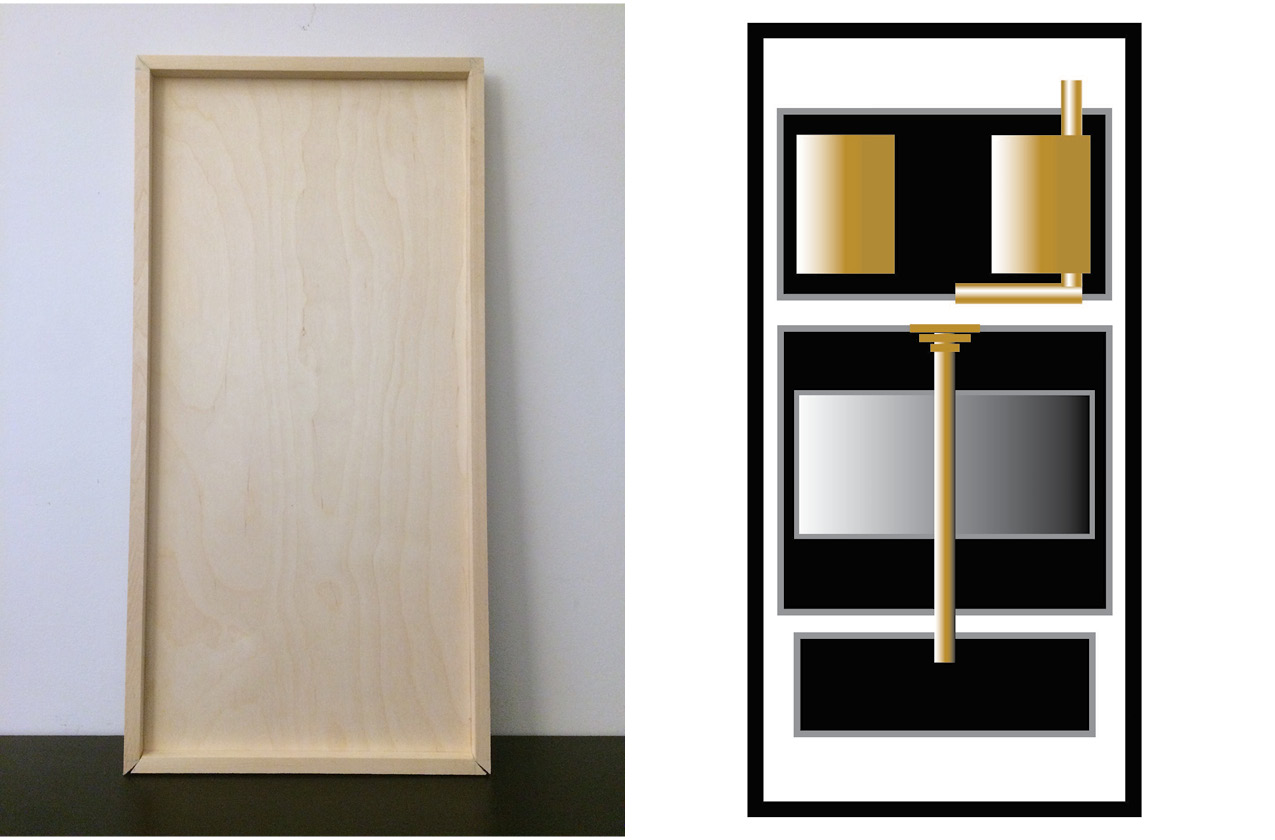
FINAL DESIGN: 3-piece puzzle of a tree maze (Top Cover, Middle, Bottom)
FEATURES:
– 2 player game to race against one another
– Pieces can interlock together and contain metal ball bearings for the game
PROCESS:
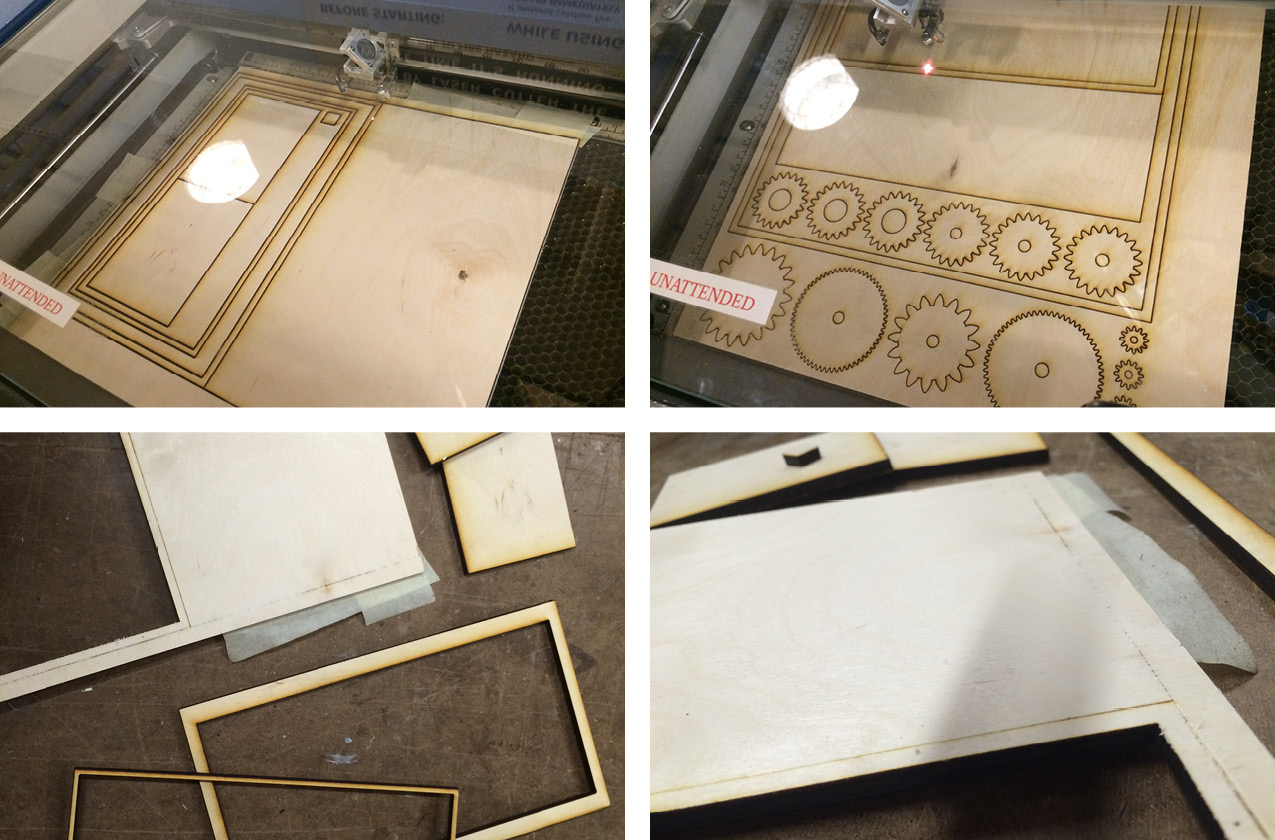
After we figured out the design for the tree maze, our next steps were to see how our design would translate into the 3D print using the LuxzBot Taz and UltiMaker machines.
1.) INITIAL 3D TEST PRINT: In order to see how the specs would translate to the printed form, we printed our initial design file that we were playing with. We were able to figure out how to take the Tinkercad file, save it as a (.stl) file, load it into Cura to create the (.gcode) file, and then transfer (.gcode) file to an SD card to print on the LuxzBot Taz machine. The total print time for this piece was 2 hours. The main problem from that we ran into with this test run was the depressions printed raised lines, so the extruded parts of the opposite piece could not interlock to close.
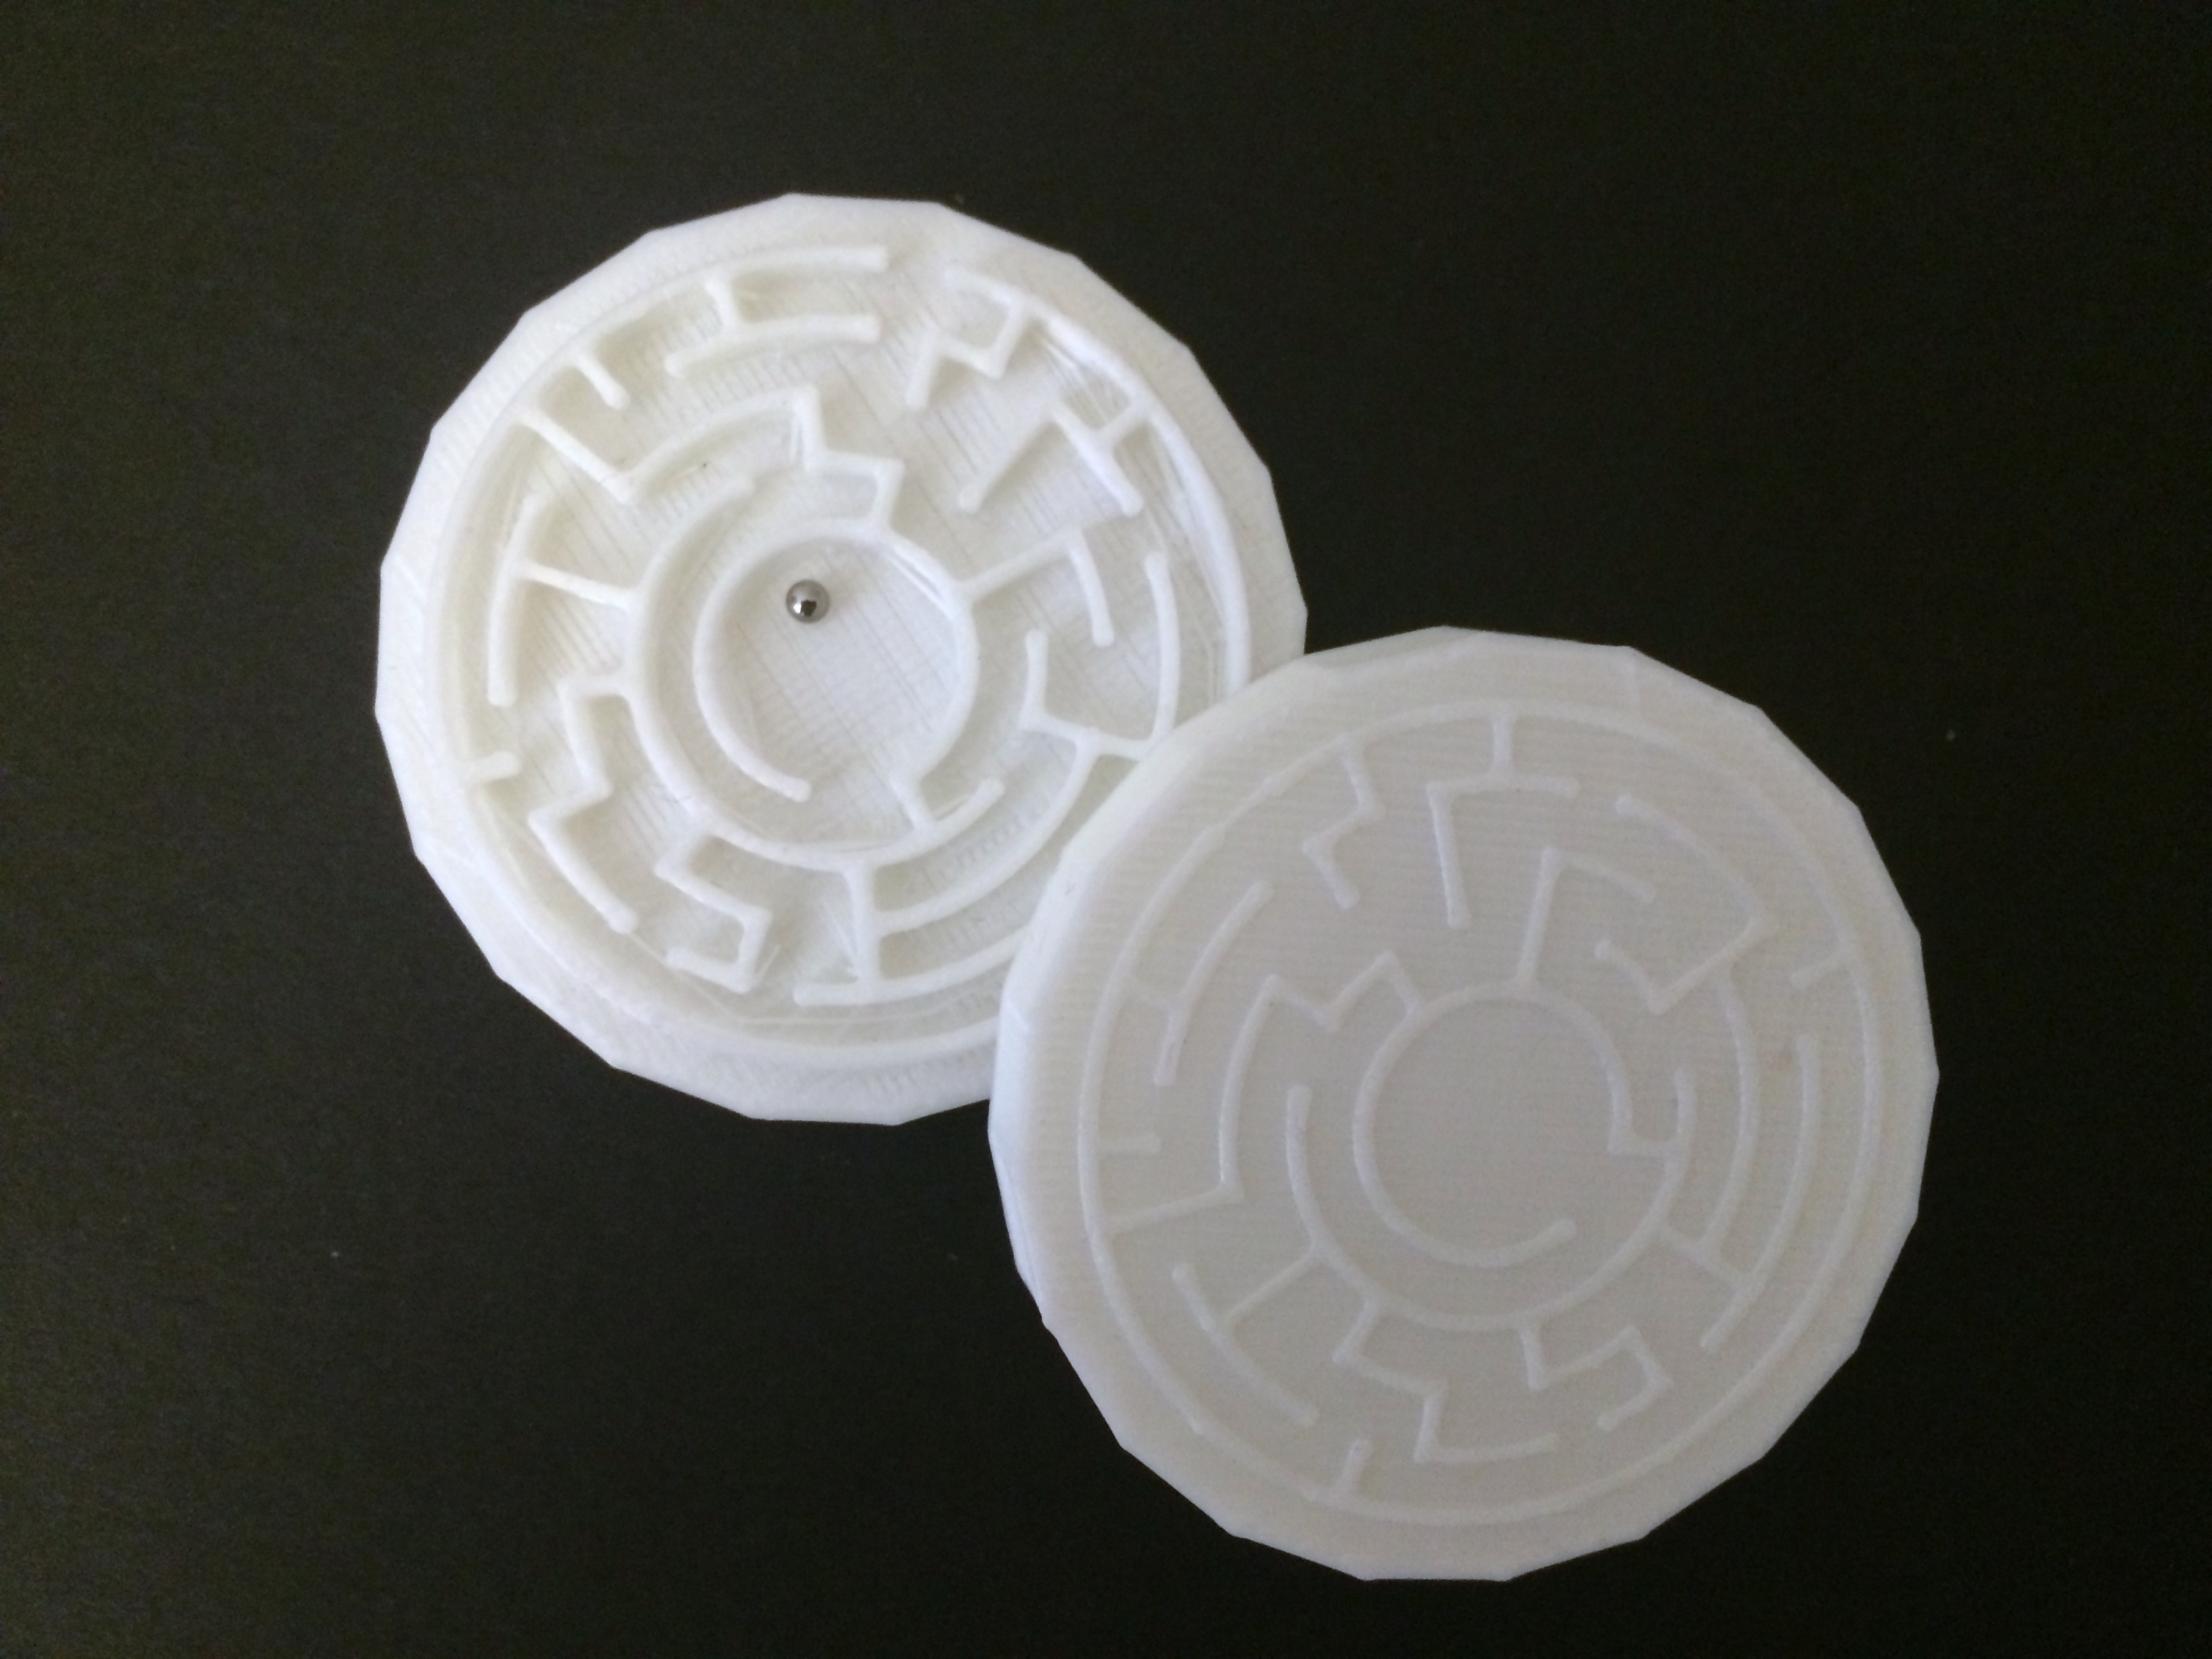
TEST PRINT
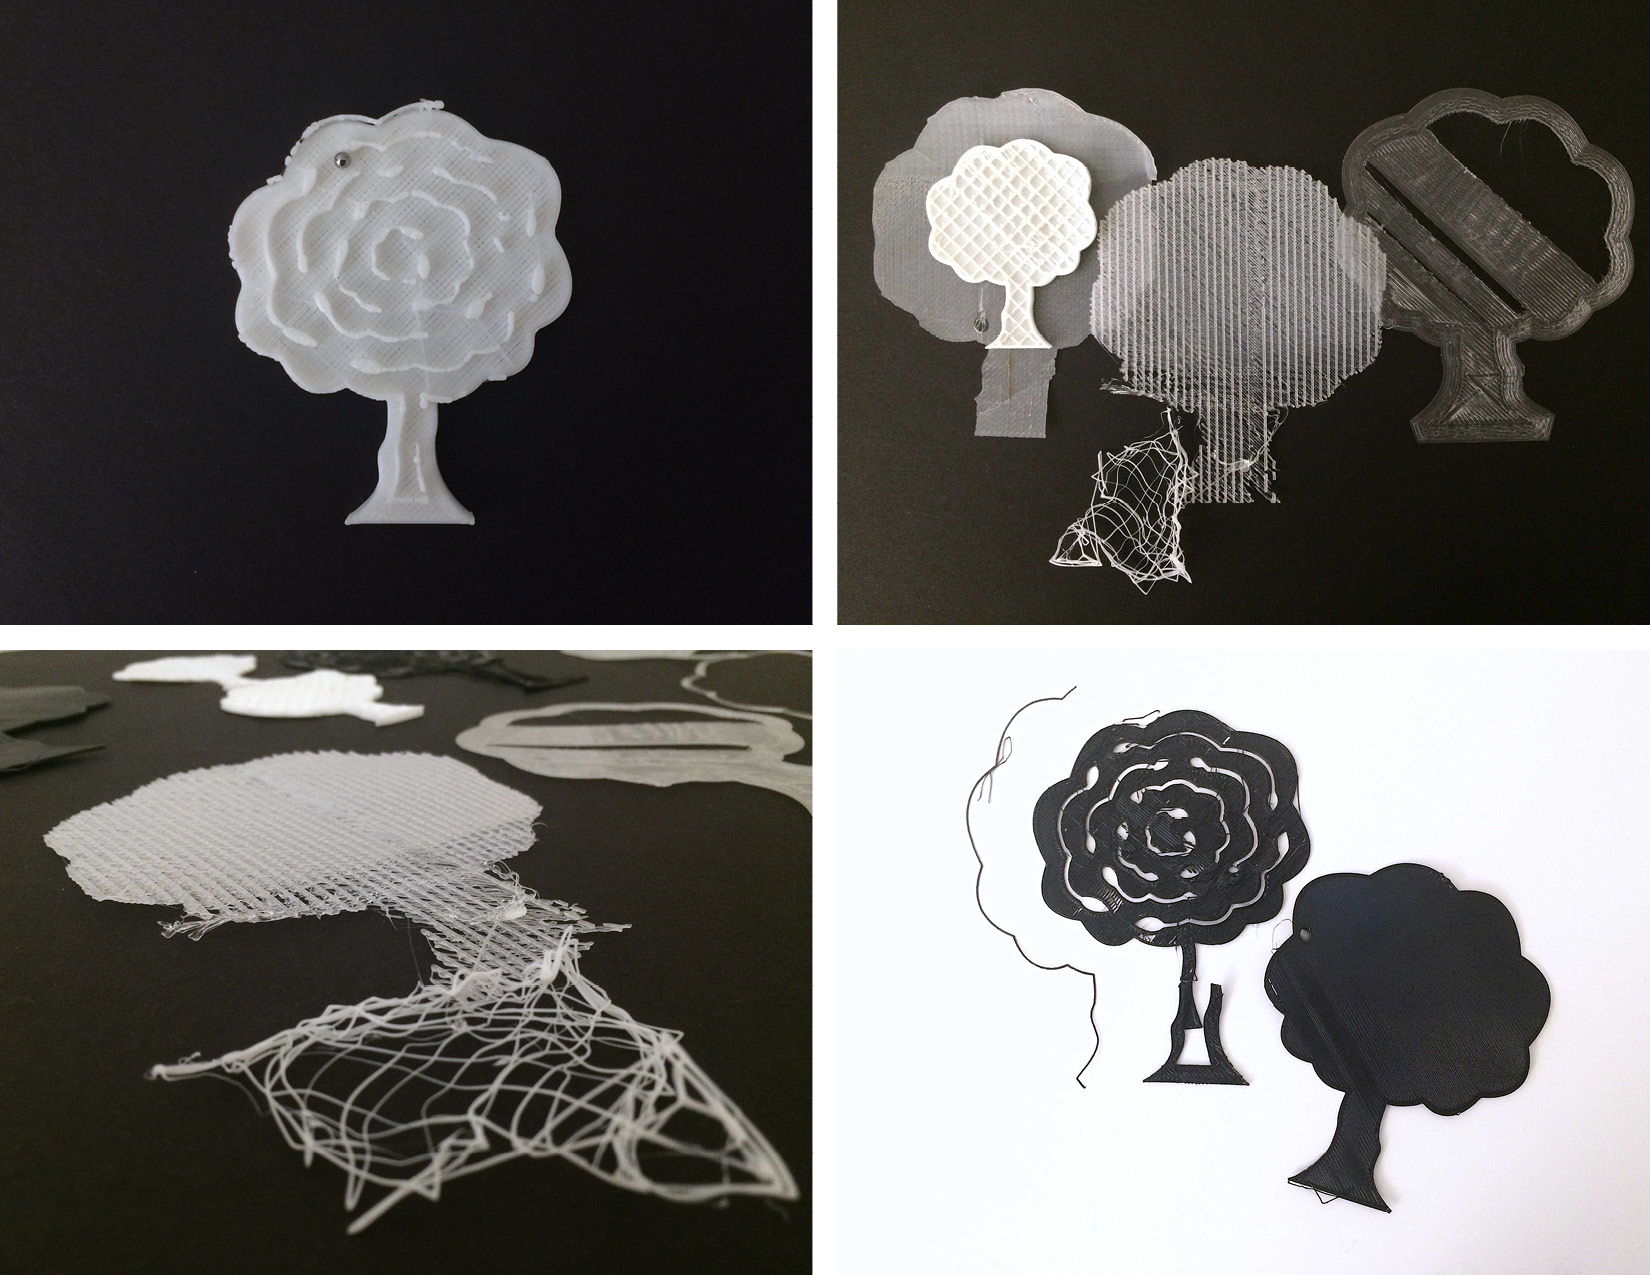
2.) MAKING ADJUSTMENTS: We needed to adjust the files to make the depressed line strokes thicker and deeper so the walls of the maze could fit right in. Also from class feedback after showing our sketch in class, one suggestion was to make the maze more in-tune with the concept of a ‘tree’, so Jenn made the lines inside the maze more branch and leaf-like.
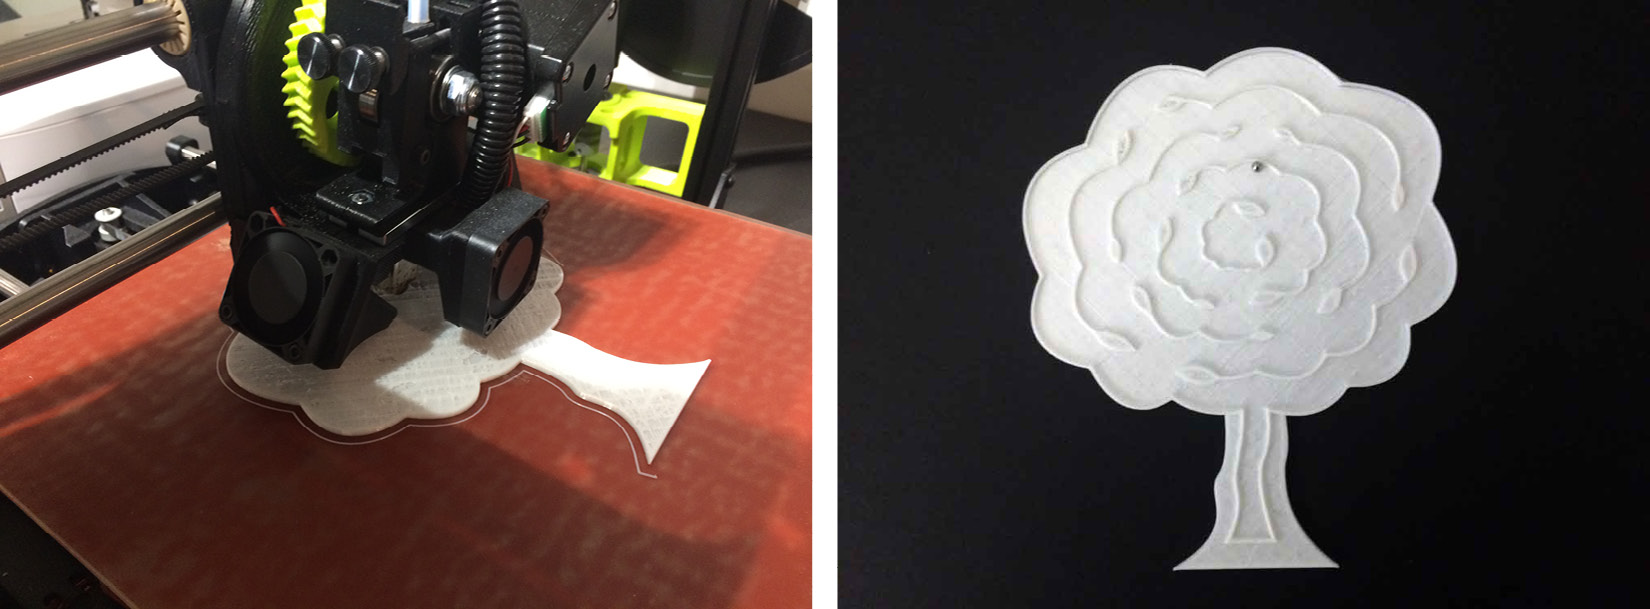
NEW TREE DESIGN
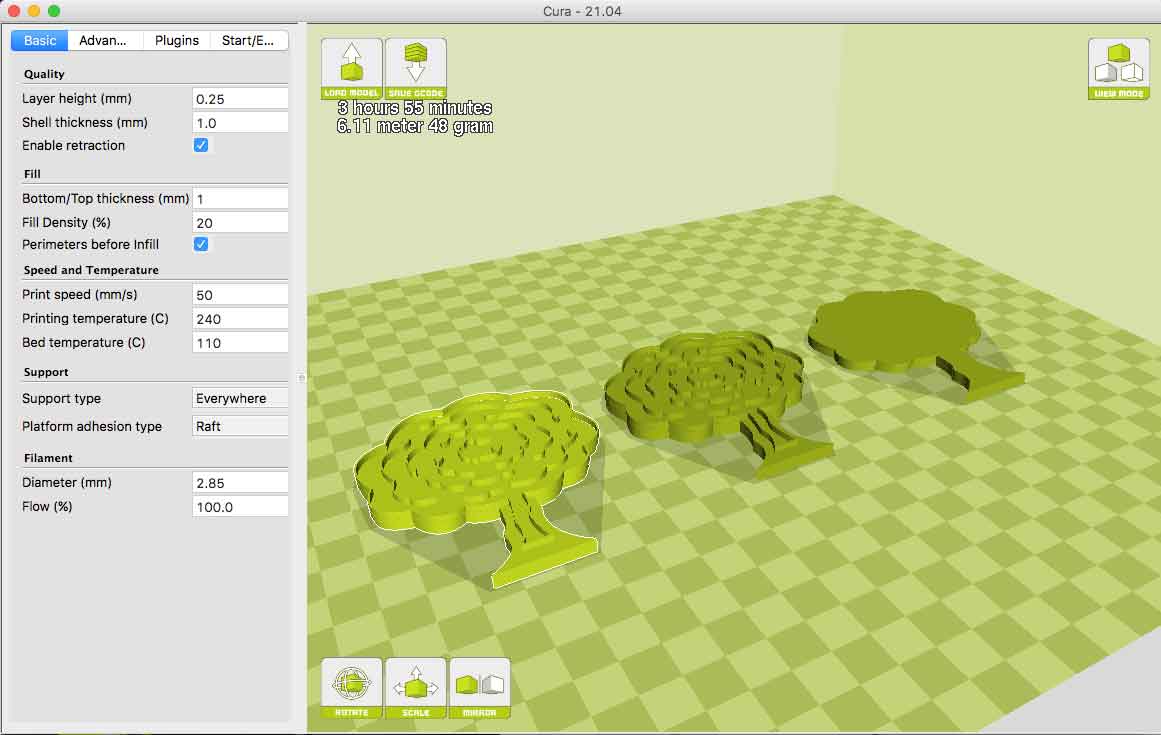
CURA VIEW – 3 pieces (bottom, middle, top)
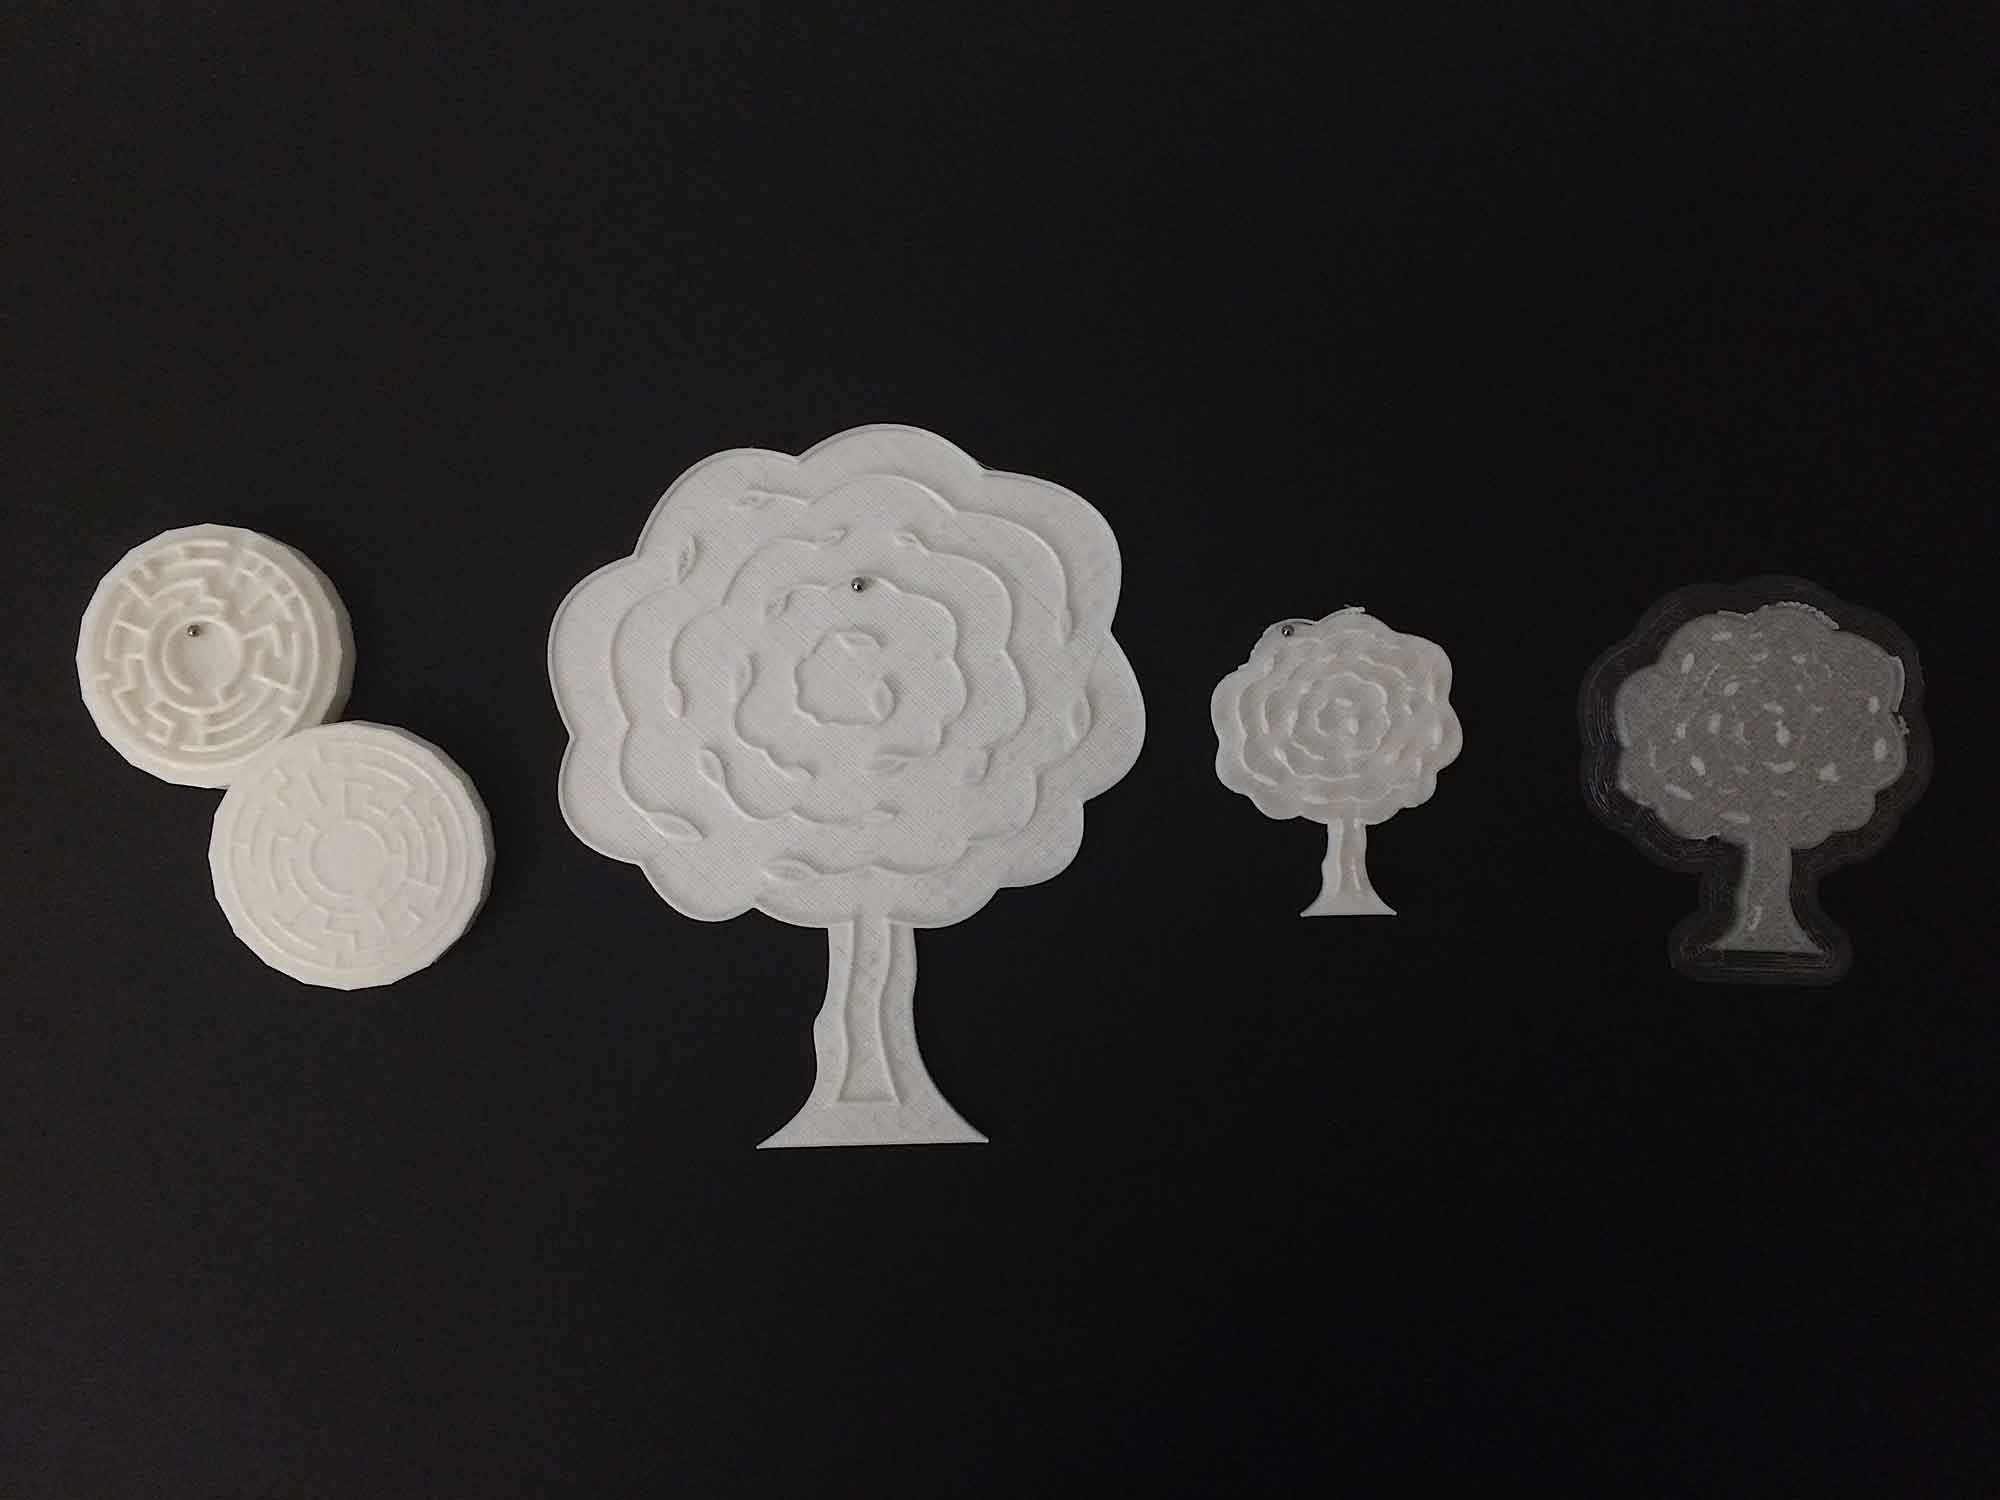
3.) 3D PRINTING PROBLEMS: We made the pieces smaller hoping to lesson the print time, which for this job was estimated at 3 hours. The problem with this was that the pieces were lifting off from the bed and moving around. We tried printing these files a couple times by making the file bigger and waiting for the machines to cool down. During these trials, we noticed that the different color plastics also affected how hard and soft the 3D piece was. We had more success printing with the opaque white plastic, as opposed to the clear and black plastics that were more flimsier.
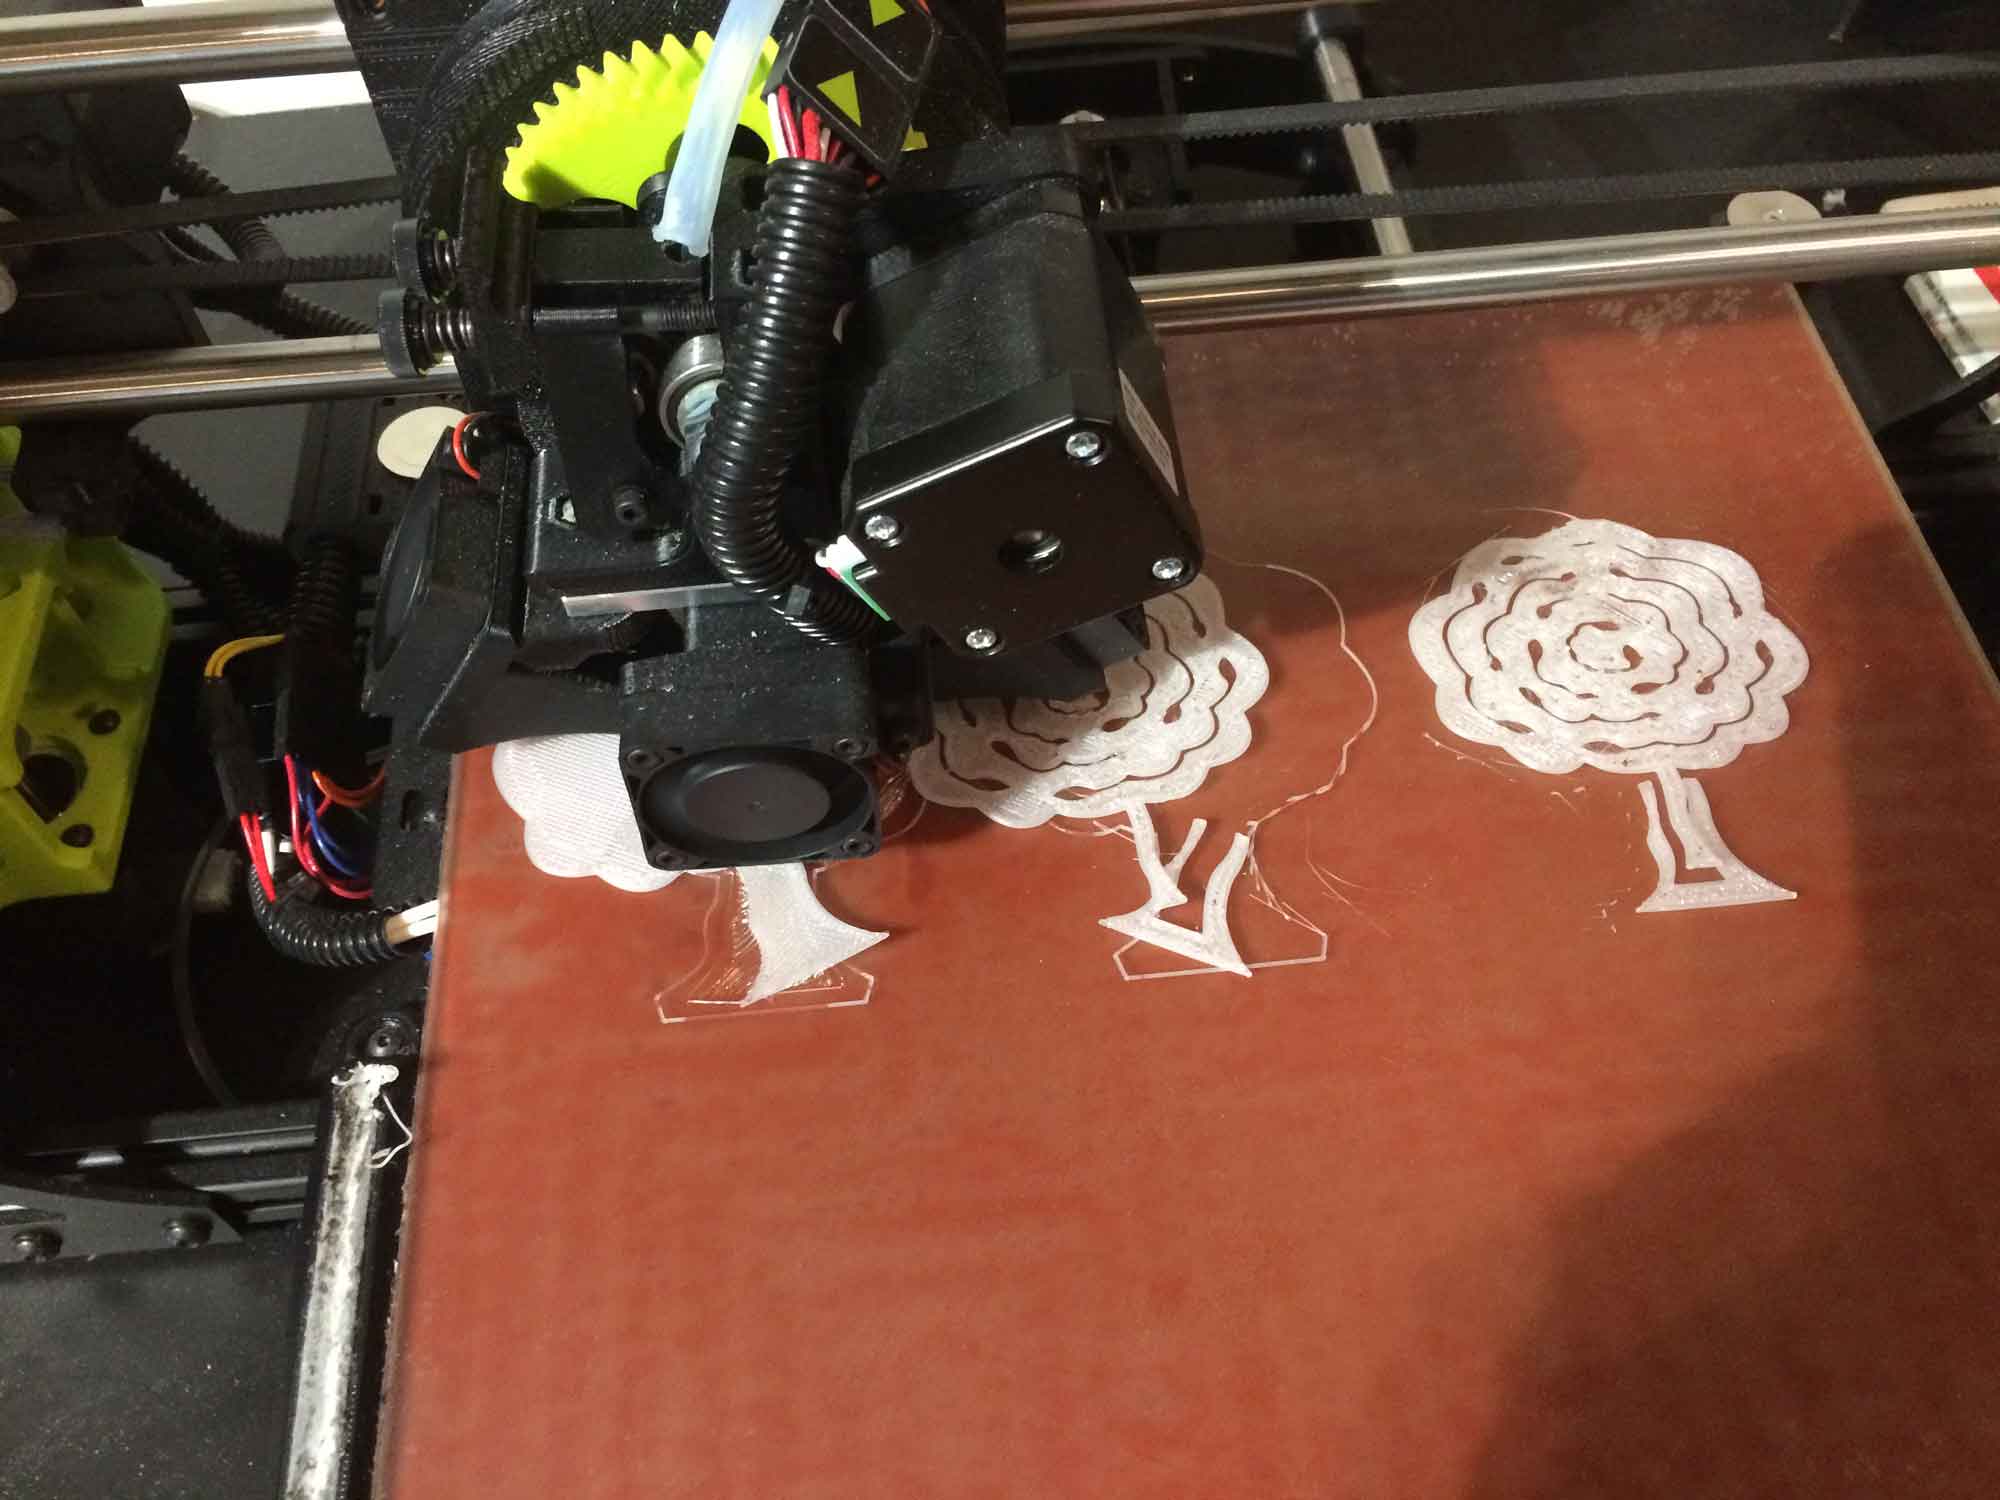
Prints lifting and moving from the bed
Many failed 3D printing jobs
4.) RAFTS AND BRIMS: While trying to solve the problem with the plastic lifting from the bed, we tried adding a raft and a brim in Cura to help keep the piece down as it printed. It still didn’t work well on the LuxzBot Taz, but when we used the UltiMaker machine, the print was able to finish without lifting off from the bed.
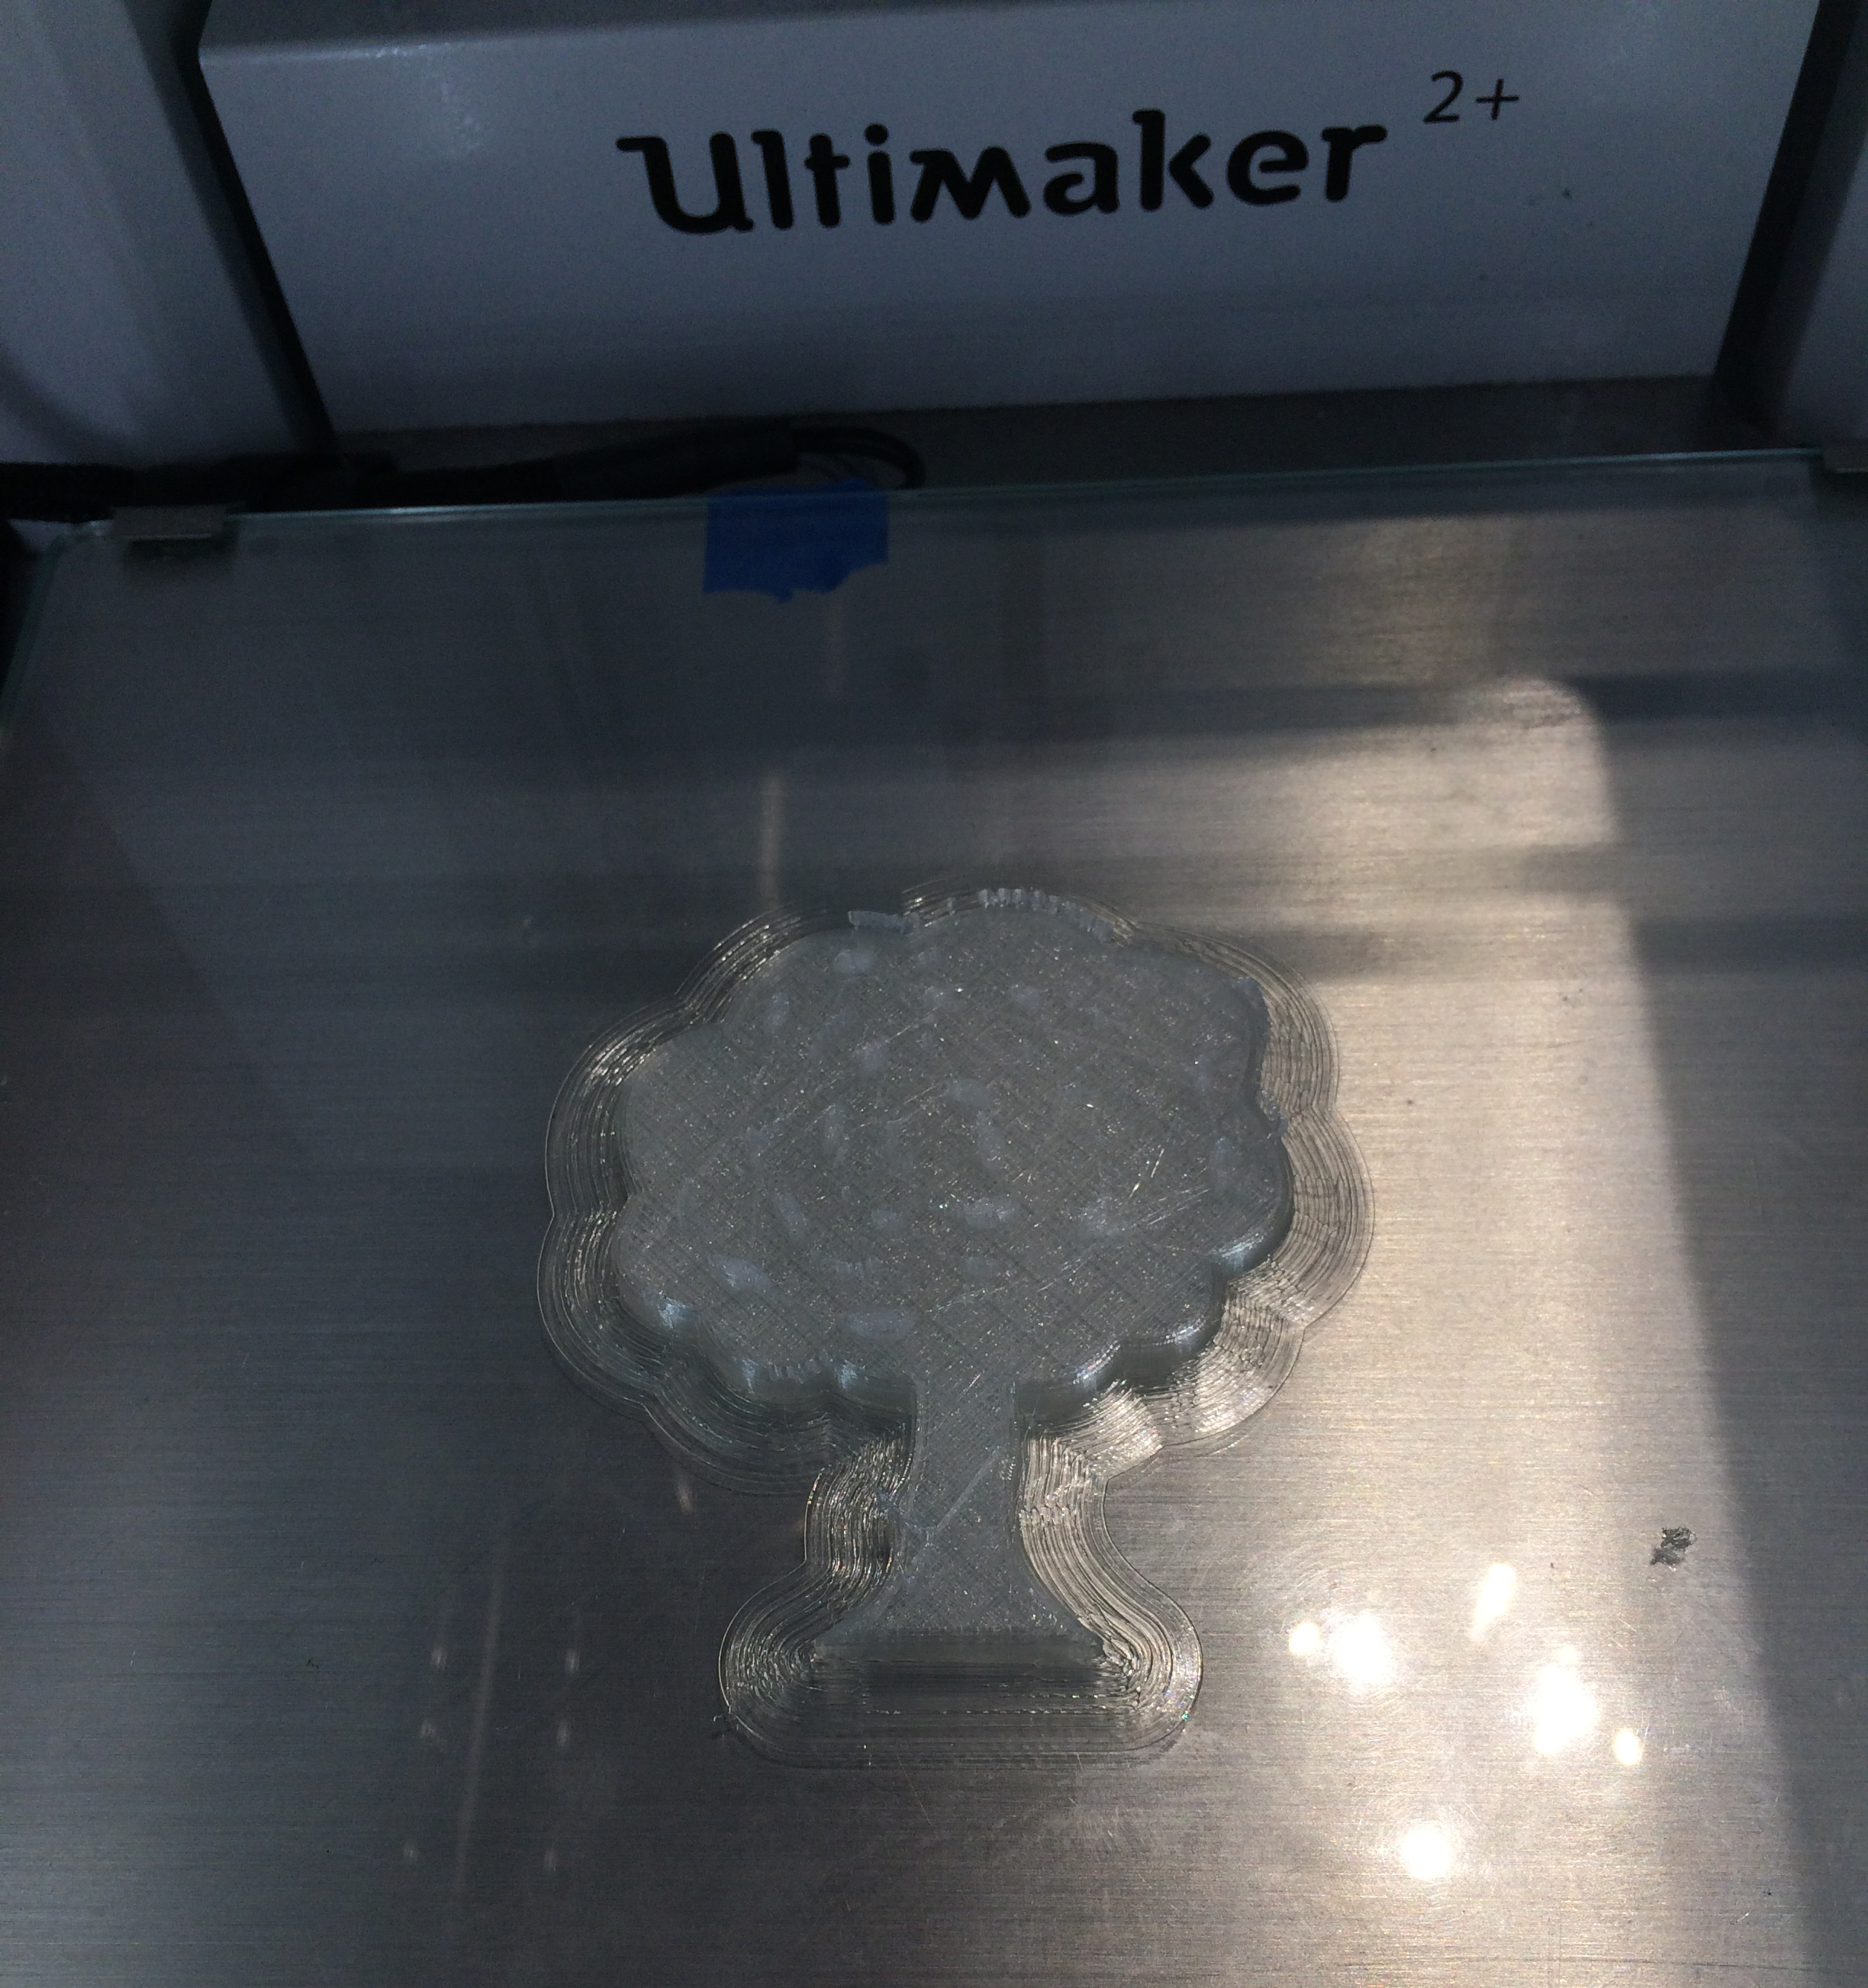
Printing on Ultimaker with raft around design
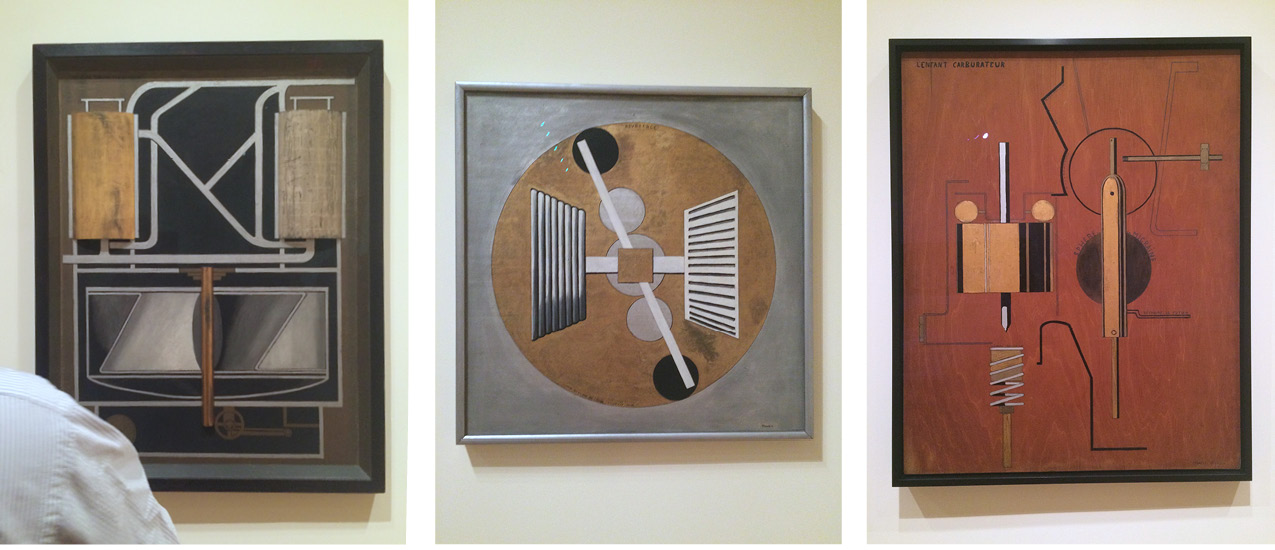
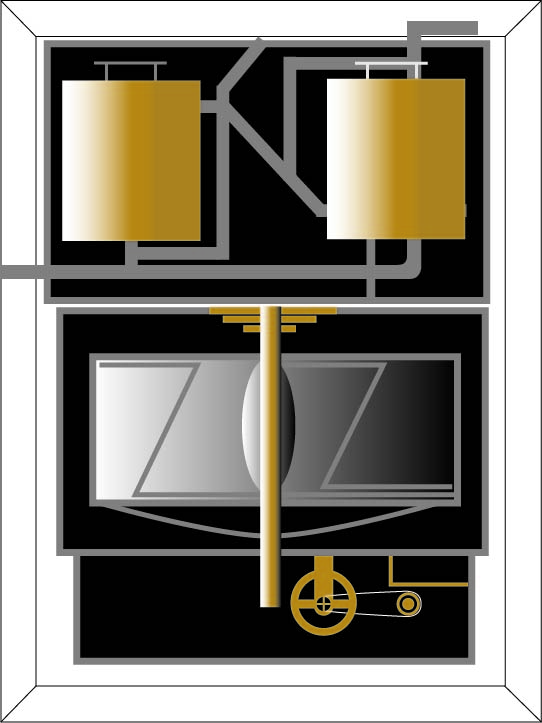
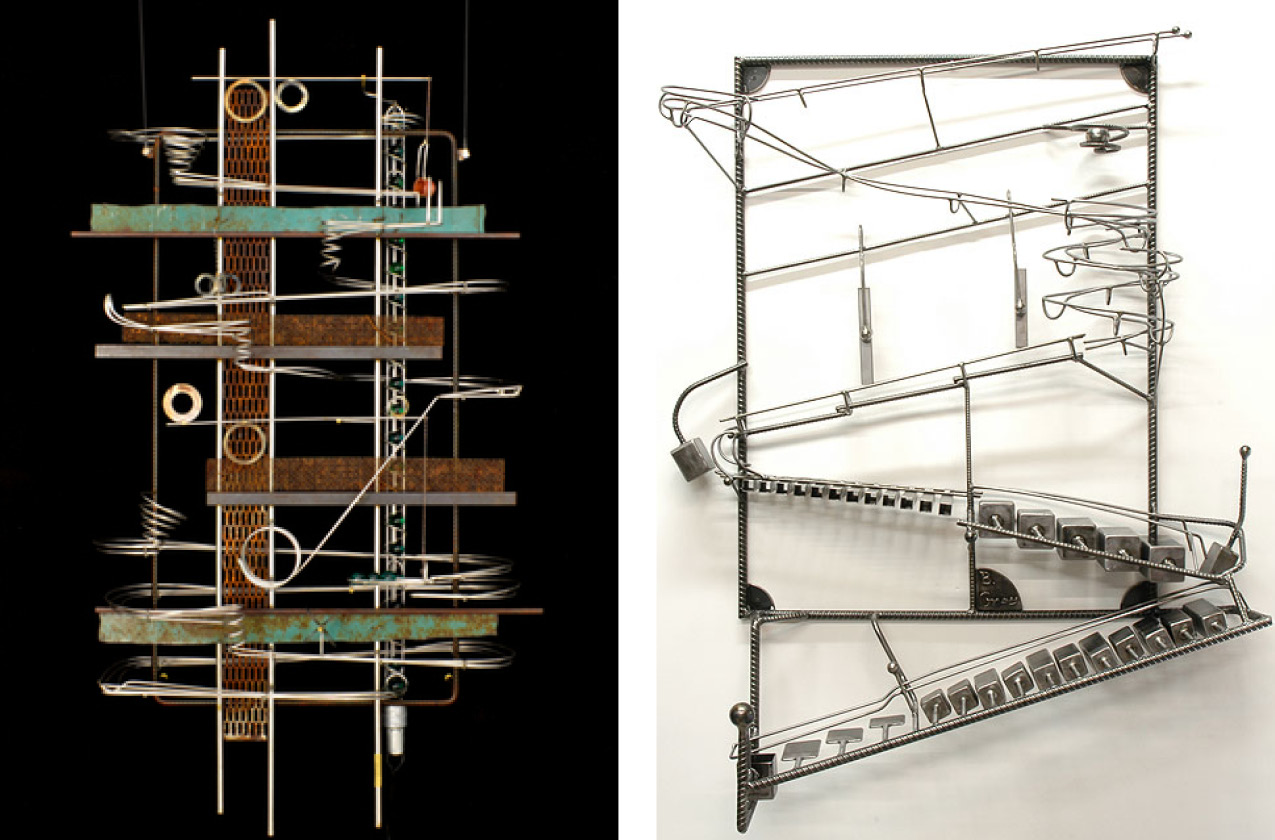 DESIGN INSPIRATION: Zachmann Kinetic Sculpture, Soundtrack
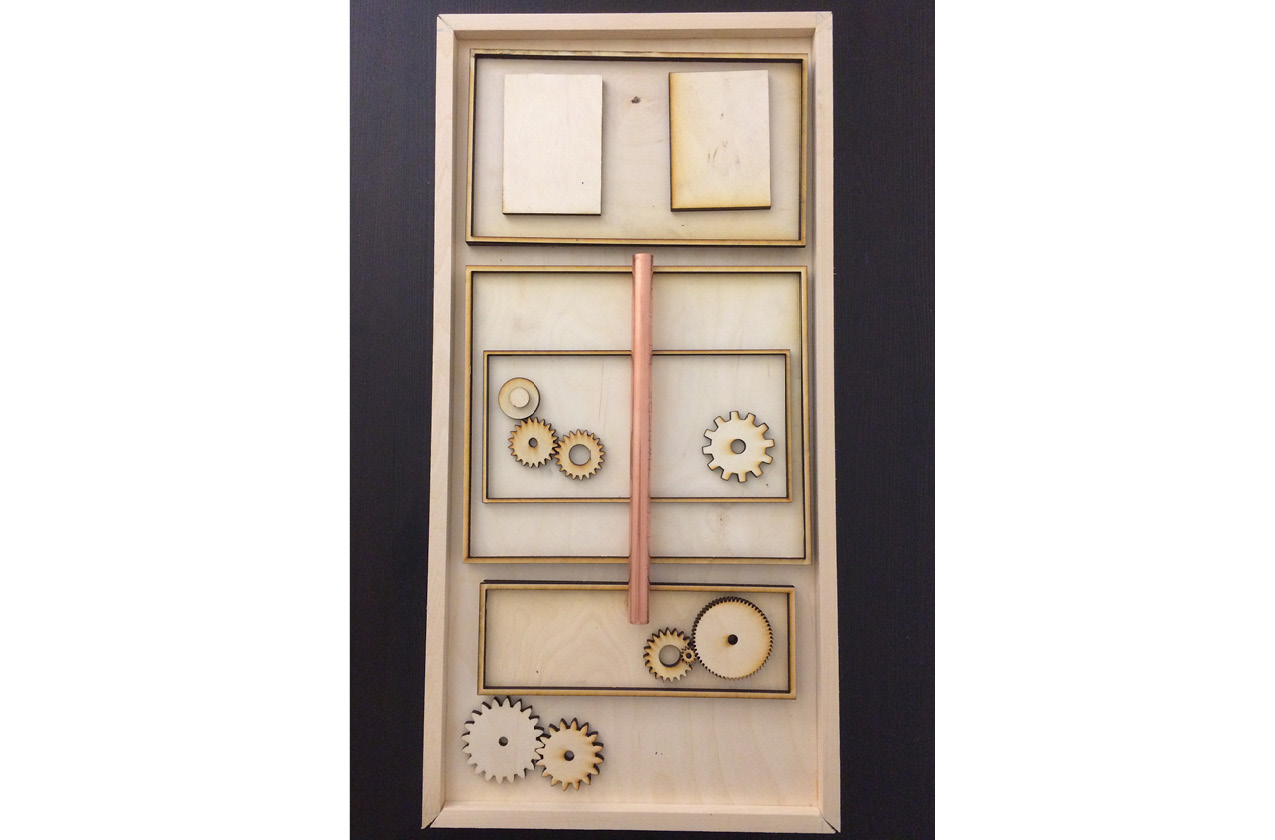
You must be logged in to post a comment.